Should you paint your fireplace?

October 16, 2020
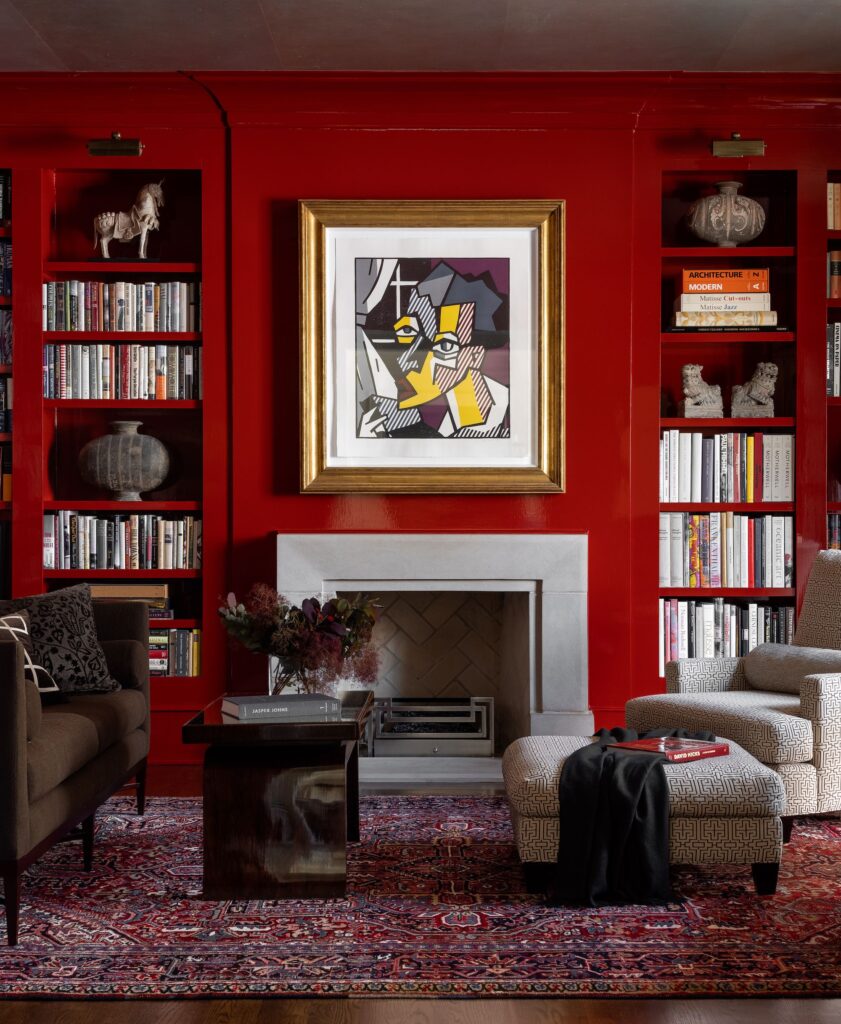
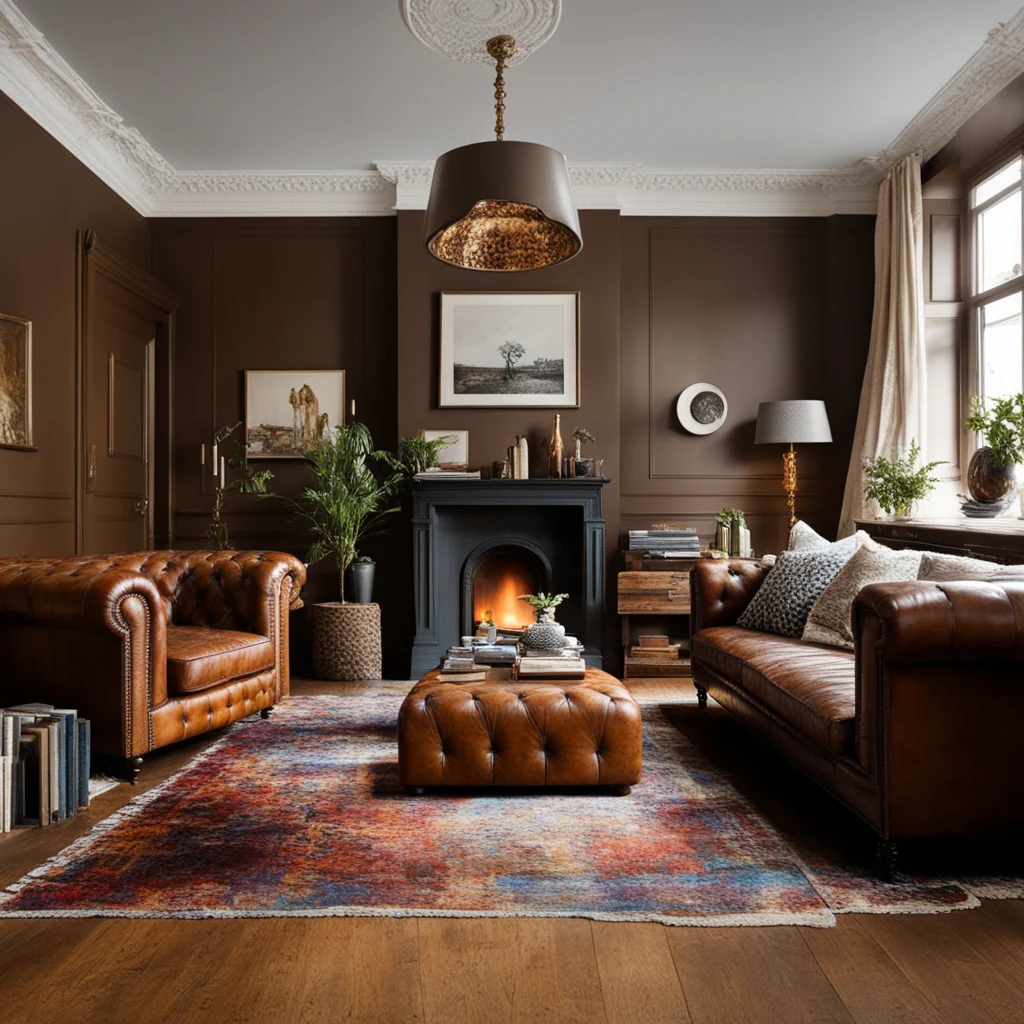
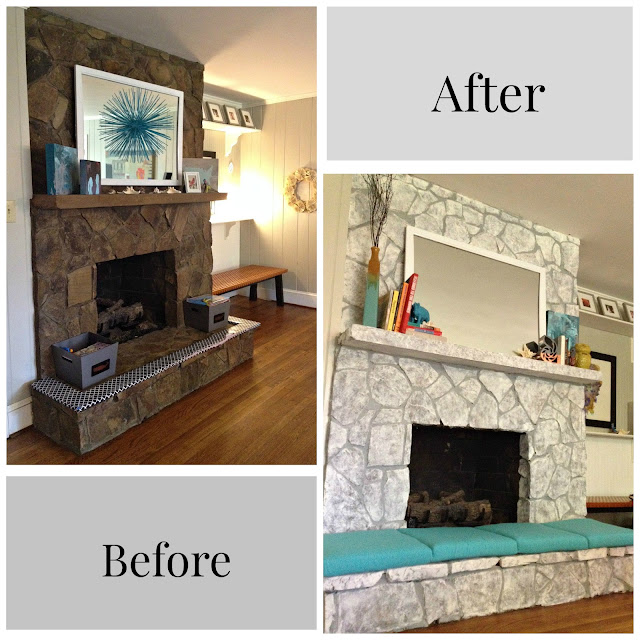
Painted fireplace, is it a good idea or a bad idea? Tough decision!! As a home stager and redesigner, I often see fireplaces in my client’s home. Some are in great shape, some not so much. When I recommend painting, I usually get this reaction, “Really, you think I should paint it?”.  If your fireplace looks outdated, then it’s definitely worth painting it.
What a Difference!!
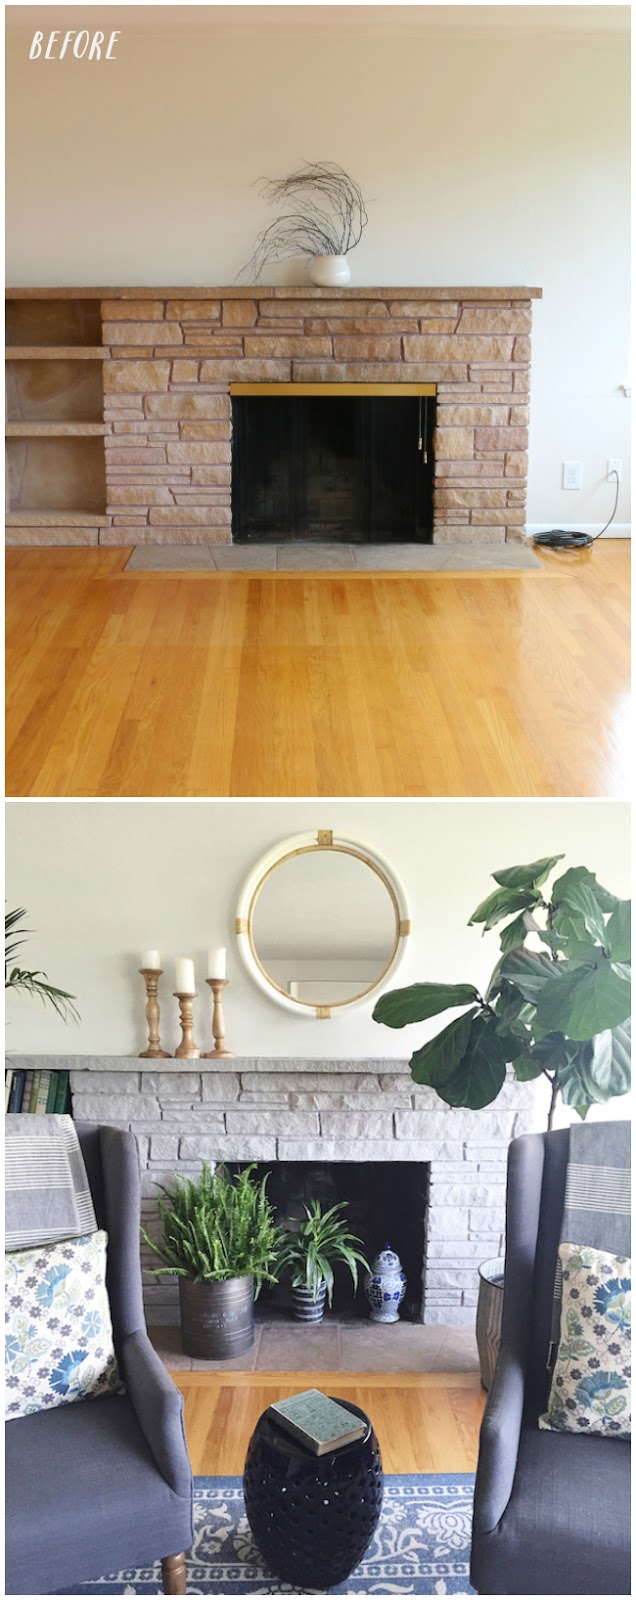
But what if your fireplace looks like this? Then what? Do you still paint it? I have to say; I like the fireplace before it was painted. I also love it after as well. So what do you do? To Paint or not to paint? That is the question. In my opinion, if it looks nice, then leave it alone. Not everyone may like painted fireplaces, and if they do, they can always paint it themselves. Only paint it if it’s in bad shape!
 
Remember, when you’re selling your home, it’s essential to eliminate any potential problems buyers may have. An ugly fireplace is a potential problem. So don’t be afraid to paint the fireplace if you think it may be an issue!

At Abella Home Staging & Redesign, we believe any home can be beautifully transformed. We believe in delivering a custom-made look but without the custom-made price tag!! Call us, and let’s get started today!!


Taking on DIY projects

August 20, 2020

Taking on DIY projects

In today’s economy, we’re seeing more and more homeowners doing DIY projects. DIY projects can potentially save the homeowners hundreds of dollars and increase the value of the home. Although I give kudos to anyone attempting to improve their home, it can be a disaster. How many times have you walked into a house and thought, “who botched up this job?” only to find out that the homeowner did it?

I understand that people are trying to save money ( who isn’t?), but I say don’t take on more then you can handle, or the outcome can cost you money.
When considering doing the job yourself, use these simple guidelines to ensure that you can handle the situation and that it’s being done right.

  • Use resources like Home Depot or Lowes to get ideas of what the project is going to cost and how difficult it’s going to be.
  • If you don’t have the right equipment, consider renting it rather then buying it. That can save you money, of course, you should consider buying it if you intend to do more projects.
  • Ask friends or family who have experience to help you out. You can offer to pay them or barter out your service if you have something to offer them.
  • Find your local trade school and see if they have an apprentice program. Sometimes these apprentices are looking to gain experience or hone their skills. They might be willing to work for very little pay. You will get a knowledge student and a helping hand.
  • Research the project on the internet. You have vast tools at your disposal, use it.

If, after doing your homework, you find out that this might be a bigger job, then you thought, consider hiring an expert. This way, you know it will be done right, and it will probably cost you less in the long run, especially if you started a project, botched it up, and now have to hire a professional to fix it. 

#AbellaHomeStaging


Vacant Staging, why is it such a tough sell??

August 6, 2020

Vacant Staging, why is it such a tough sell??

Why is it such a tough sell? When you take the cost of carrying the mortgage plus expenses like utilities, times that by the many months it has “Sat” on the market, it can add up to a substantial amount. Staging a vacant home could potentially save the homeowners thousands of dollars, yet they cringe when you show them the cost of staging their home.


Some stagers state the fact that the reason some homeowners don’t want to stage is that they would have to dish out the money. While reducing the listing price is just “paper money.” This may be true, but if you have the chance to increase your profits, why wouldn’t you take it?? Vacant staging works because buyers can’t see the potential of the house. Have you ever looked at MLS listing of a vacant home? Can you tell me what purpose the room serves? 


I recently had a call from a homeowner who had a vacant home on the market. When I looked at the MLS listing, I couldn’t tell which room was the master bedroom, dining room, or family room. The only space I could identify was the kitchen (for obvious reasons!). This was a 3.6 million dollar home!! I should have been “wowed,” but I wasn’t. It has been on the market for over seven months. Imagine the expenses the homeowner is carrying?? Yet when I told her the cost of staging her vacant home, she didn’t want to spend the money. Call me crazy, but I don’t get it. 


When you break it down, vacant staging is worth the cost, so why can’t homeowners see that? The fact that they would rather continue hemorrhaging money is baffling to me. If you take into consideration what it will cost you in the long run, staging a home will save you money. And that my friend is a fact you can take to the bank.
#AbellaHomeStaging


Staging a Semi-Vacant house

July 23, 2020

Staging a Semi-Vacant Home

Recently I stage what I call a semi-vacant home. What does that mean? Well, it means that the house is indeed vacant, but I was able to use some of the client’s furniture. By doing this, it allows me to keep the cost down, which is what every client wants!!

I don’t normally do this simply because there usually is no furniture in the house. However, sometimes the homeowner has left some furniture behind. If I feel that I can utilize the furniture, then I will.

The before pictures.

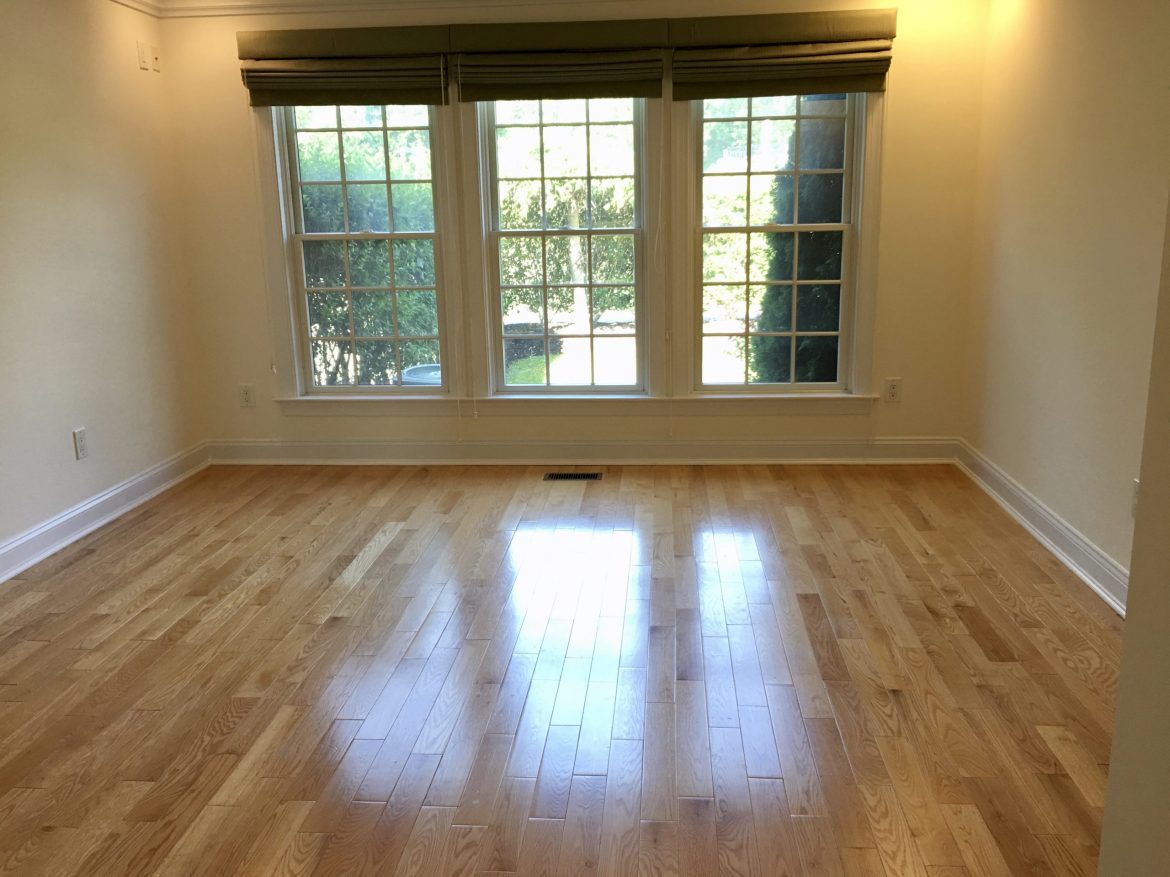
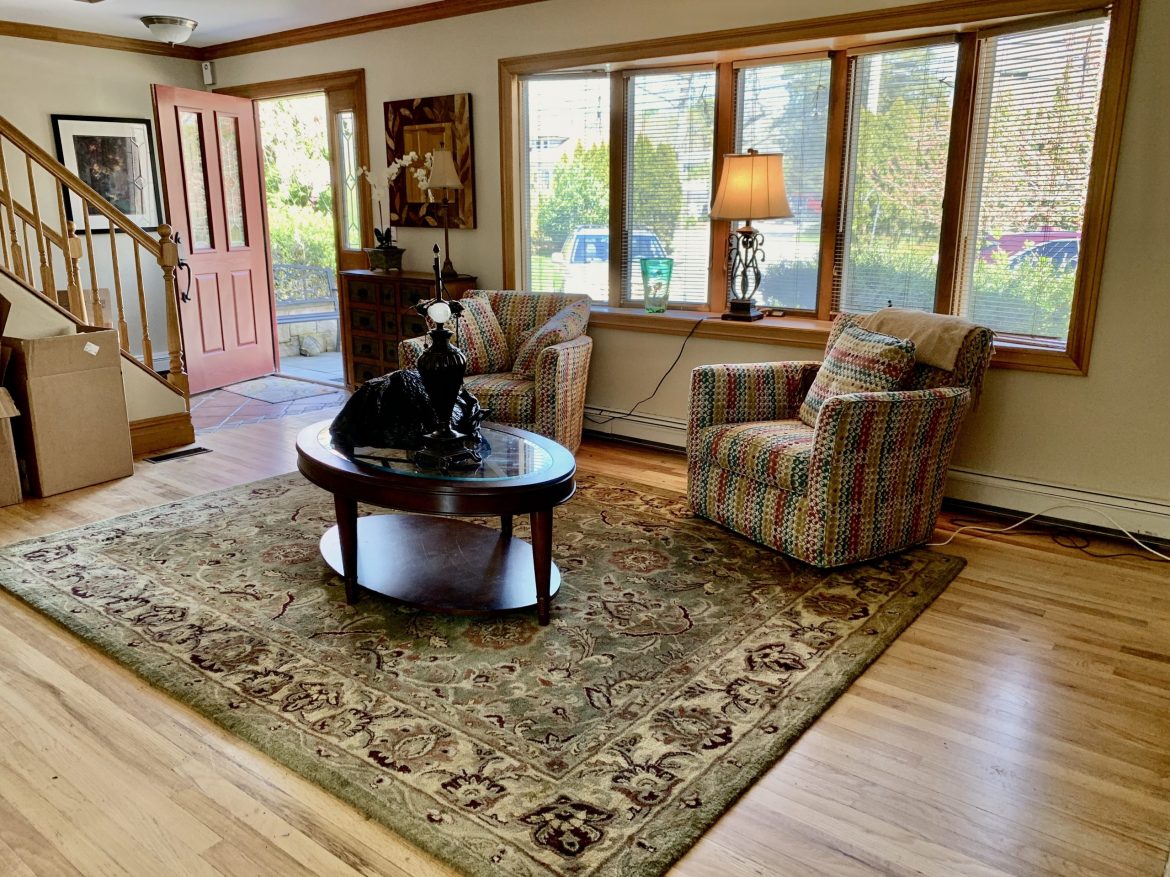
In the living room, I had the client remove the two armchairs. I felt they were a bit outdated. I did use the coffee table, the chest by the front door, and the metal end table, as well as the lamps and area rug.

The kitchen needed a table and chairs which the client had.


In the dining room, I kept the table but switched out the dining chairs. I did use the server.


I even used their wicker furniture for the spare room, which I turned into an office.


Here are the after pictures.

As you can see, just by switching out the armchairs and adding a sofa, it completely changed the look and feel of that space. I added my accessories to finish the look.


In the kitchen, I used her table and benches. I set the table and accessorized her kitchen.


Much more updated look just by changing out the chairs. The server was a good fit.

Here is the office. I eliminated all those stuffed animals, utilized her furniture, and used my accessories instead.


As you can see, adding some furniture updated the space. This will entice the buyers to schedule a visit to the home. That is what you want to attract buyers!!
#AbellaHomeStaging

How did life get so crazy??

July 9, 2020

How did life get so crazy??

We juggle work, family, downtime, and most times, we just don’t have enough time in a day to get it all done. And if you run your own business, well, that’s more time needed when you factor in social networking, social media, and blogging to help bring in more business!! Then there is family. You are taking the kids to practices, games, and whatever activities they’re doing. Holidays come around, family parties that you must attend, spouses that are feeling neglected, friends that haven’t seen you in a while. Can we PLEASE get some downtown?!!! How did life get so crazy??

Especially now during this COVID 19 pandemic. Things have gotten out of hand!!

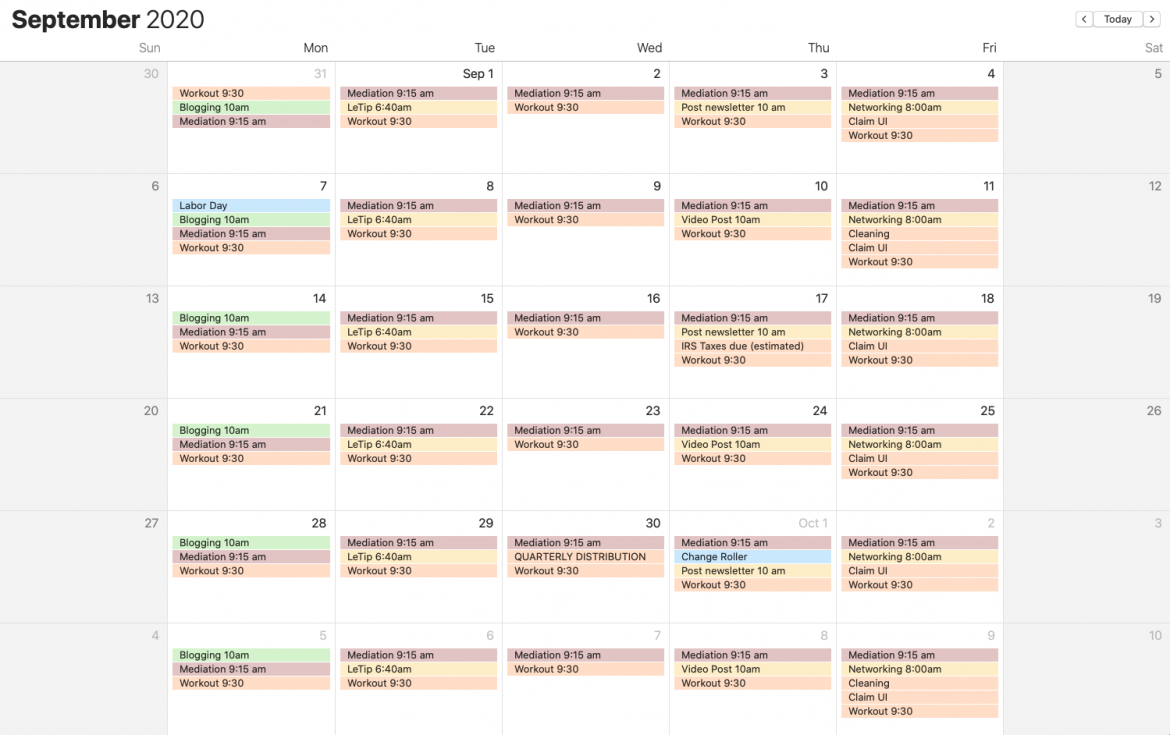
So what can we do about it?? A long time ago, I was a real estate agent. I had to take a continuing education course. I can’t remember the course, but I got the best advice anyone has ever given me. The instructor gave us some advice on how to juggle all our commitments. This is what he said. Write down every obligation you must do every week on your calendar, Monday through Sunday. These are you must-haves. If your kids have practice every Thursday, write it down. Meeting on Tuesday morning, write it down. Are you getting the picture? Then whatever slots are open/free, you can fill in with whatever you want. Has it helped? You betcha!! 

Here is an example of my schedule. I even color coordinate the events!!


It takes commitment to do this at first, but I promise it does work and it will make a huge difference in your life. Organizing your life doesn’t have to be crazy, it just takes a little bit of planning and some commitment on your part. So worth the effort!!

#AbellaHomeStaging


Redesigning a Dining Room

June 25, 2020

Redesigning a Dining room

A few months ago, I had a client that reached out to me and wanted to redo her dining room. This was a client that I had done previous designs for in her home. In fact, I just finished designing her kitchen.

As you can tell from the pictures, it needed an update!! We talked about what she wanted in her new dining room. What style she liked and what pieces she wanted to keep. She decided she only wants to keep her hutch. We decided to paint it to give it a more updated look.

I set up a Pinterest board so she can pin some of her favorite pictures of dining room she liked. This gives me a good idea of her style.

Once that was done. It was time to shop!!

Here are the before pictures:


This is the hutch she wanted to keep and we decided to paint.

As you can see from the pictures, it needed to be updated. Once the shopping for the new dining room was done and the items delivered, I set up a date and time to come in and finish the space by accessorizing it.

Here are the after pictures:


What a huge difference. My client was thrilled with the results. Do you have a room you need help designing? Then reach out to me, and let’s get started.
#AbellaHomeStaging


Simple solutions equal great design

June 11, 2020

Simple solutions equal great design!

You don’t need to spend a lot of money; you just have to get creative. Many times clients are on a budget (who isn’t these days!). But that doesn’t mean you have to sacrifice design. There are many ways to spruce up your home, whether you’re selling or redesigning.

Here are some tips that you implant.

1. Fancy feet – you can update a look on an armchair or sofa by merely changing out the feet. Most just screw on so you can easily replace them with your choice of decorative feet. Just make sure your new feet don’t go higher than 1″ of the original feet.

2. Decorative lampshade – there are many ways to “dress up” your lampshades. Cut decorative paper to fit the inside of the shade. It looks great when the lights are off, better when they are turned on. Add embellishment (ribbons, beads, use hot a glue gun) from the scrapbook aisles. Or use reusable wallpaper. Word of advice using the wallpaper will diffuse the light so, plan accordingly.

3. Stairs riser – step up the visual interest on your risers by using wallpaper or custom painting them. Just make sure you pick a print that will work when you cut it down to the size you need.

4. Kitchen and bathroom tiles – if you have plain tiles or even Formica and want to spruce it up without breaking the budget, use peel and stick tiles. Easier to do than removing the old tiles. You simply peel off the backing and position on tiles. Then let it dry/cure for 24 hrs. These stickers withstand moisture, heat, and plenty of splashes.

5. Dog crates – my personal favorite. Do you have a dog crate that is an eyesore? Then consider buying a decorative dog crate instead.

As you can see here, just a bit of imagination and creativity, anything is possible!!

Images Via Pinterest
#AbellaHomeStaging


What do you do with a glass door?

May 14, 2020

What do you do with a glass door?

What do you do with a glass door when you need privacy? Or when you have a window that overlooks an area you may not like? Most often, people use curtains or blinds to address the issue. But other alternatives work just as well and look better. You can apply a window film. It sold at your local Home Depot, as well as the internet.

Here are some great examples.


As you can see, it’s simple enough to apply, and the results can be stunning. So the next time you have an issue with a glass door or a window with an unattractive view, consider using window film.

All Images Via Pinterest
#AbellaHomeStaging


How accessorizing can complete your design

April 30, 2020

How accessorizing can complete your design

Most people don’t realize just how vital accessorizing can be. I always say, “the devil is in the details,” and the details are the accessories!! Without proper accessories, it’s just an unfinished room.

As a designer, this is the part most of my clients have problems. You see, it’s not as easy as it seems. You need to know the proper scale, take into consideration color, and make sure it pulls the design together. This is what completes the space.

 This is a room I recently designed for a client. All the items I chose are in the space. However, the space seems incomplete because it hasn’t been accessorized yet.

Take a look at the before and after photos and see for yourself.
You can see there is no centerpiece to accent the table.


This wall seems so empty and vast without wall art.

The server is bare and has no charm!!

Now to add all the accessories and bring some much need charm!


As you can see, it’s so much better when the room has been accessorized. It completes the space. Adding warmth and charm.
#AbellaHomeStaging


Painting my bathroom cabinet

April 16, 2020

Painting my bathroom cabinet

About six months, I painted my bathroom a beautiful blue. I decided I wanted to paint the bathroom cabinet the same value but much darker.


But before I could paint, I  needed to make sure I fixed any issues the cabinet may have. It is very old and peeling in some areas. I’m not ready to redo the bathroom just yet, but I do want to make it as appealing as possible.

In a way, it’s good that it’s old because the melamine came right off. As you can see from the picture, I just peeled it off all the doors. That made it so easy!!

As with any job you undertake, the prep work is the most crucial part. If you skip on the prep work, most likely, it won’t last as long, or it won’t turn out well. So I had to prime the doors. I didn’t sand since it was on MDF. If I were painting on Melamine, then I would have sanded. I used this primer, which worked very well. I only needed one coat.

Then I went to work and started painting. I took off the doors to make it easier to paint.

It took four coats to cover the cabinet completely. Something you should know, the darker the color, the more coverage you will need!! It doesn’t look beautiful right now, but I knew it would once it’s was done.

Well it’s all done and I couldn’t be happier. I love the color and as it dries it becomes darker. I used Sherwin William Duration 6230 Rainstorm

So what do you think? Not bad, right?!! Changes the whole bathroom. And it looks brand new!!

#AbellaHomeStaging