Vacant Staging, why is it such a tough sell??

August 6, 2020

Vacant Staging, why is it such a tough sell??

Why is it such a tough sell? When you take the cost of carrying the mortgage plus expenses like utilities, times that by the many months it has “Sat” on the market, it can add up to a substantial amount. Staging a vacant home could potentially save the homeowners thousands of dollars, yet they cringe when you show them the cost of staging their home.


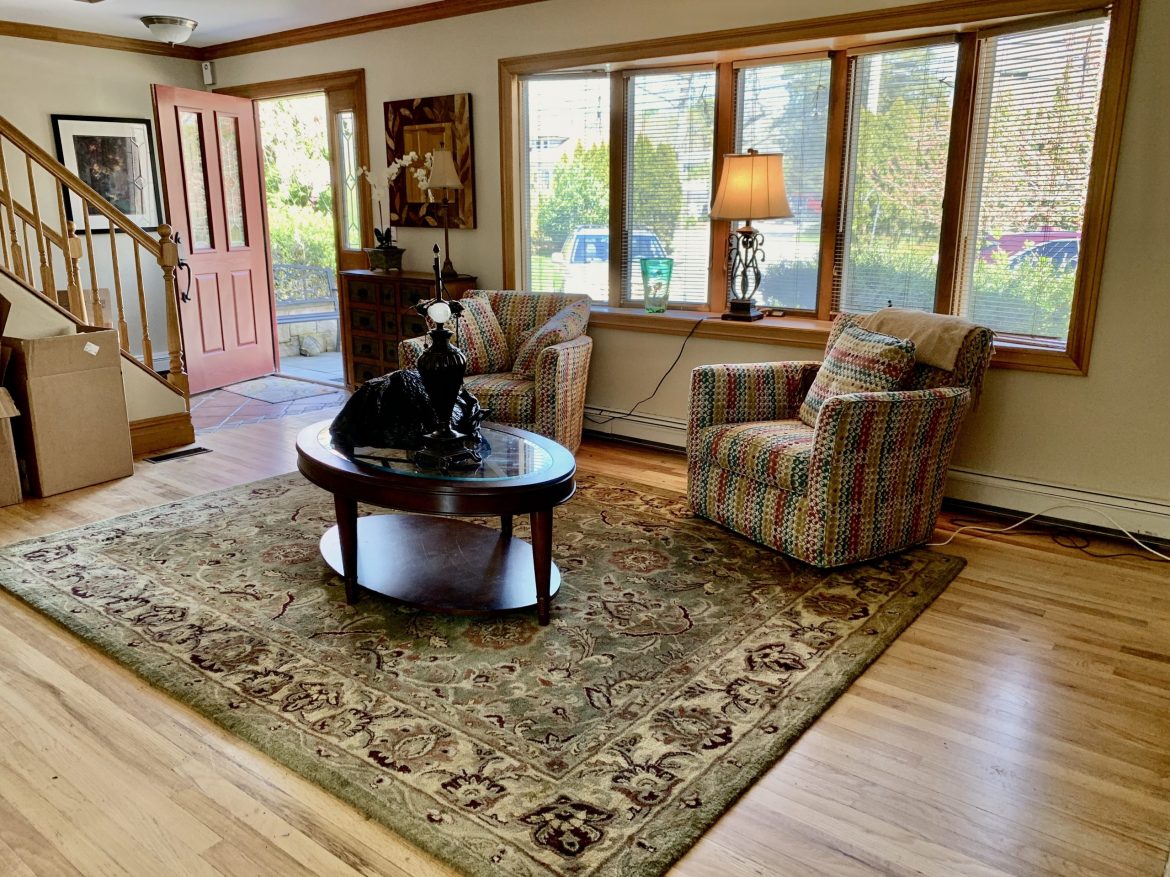
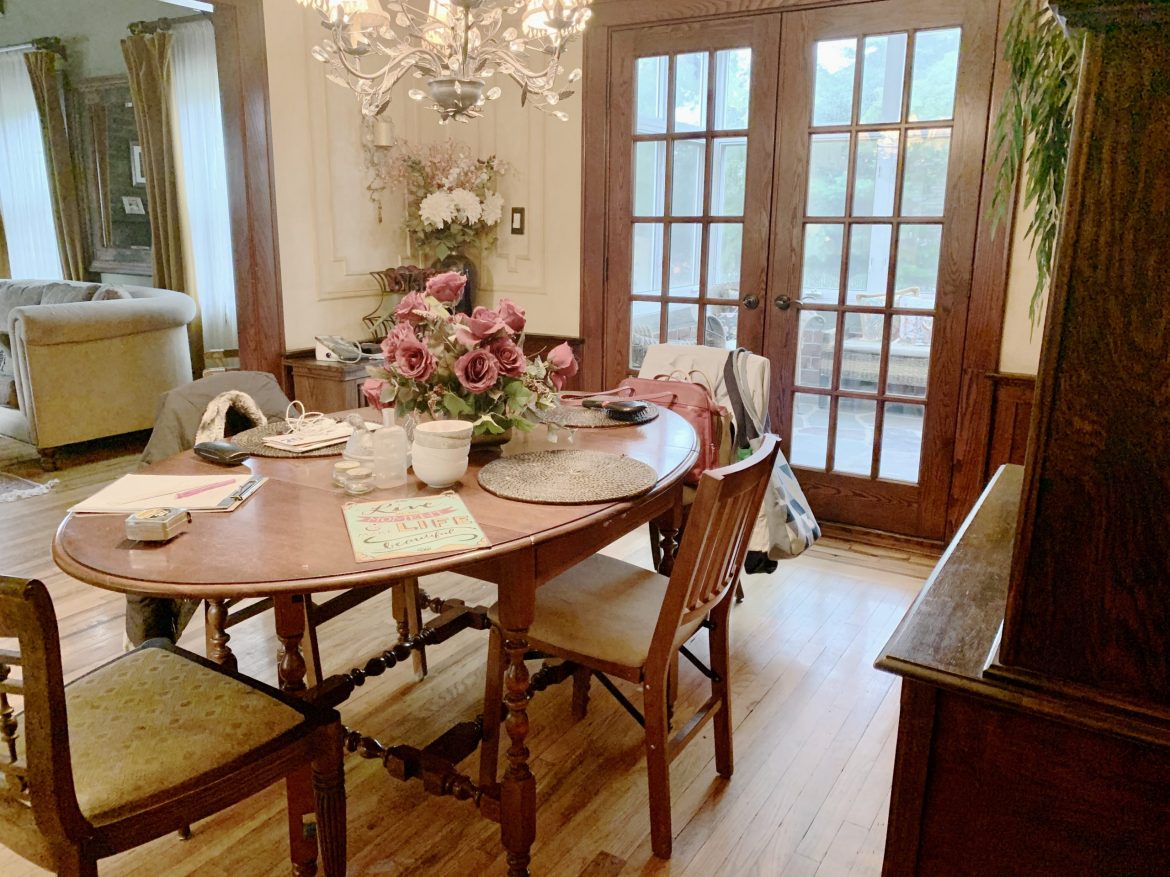
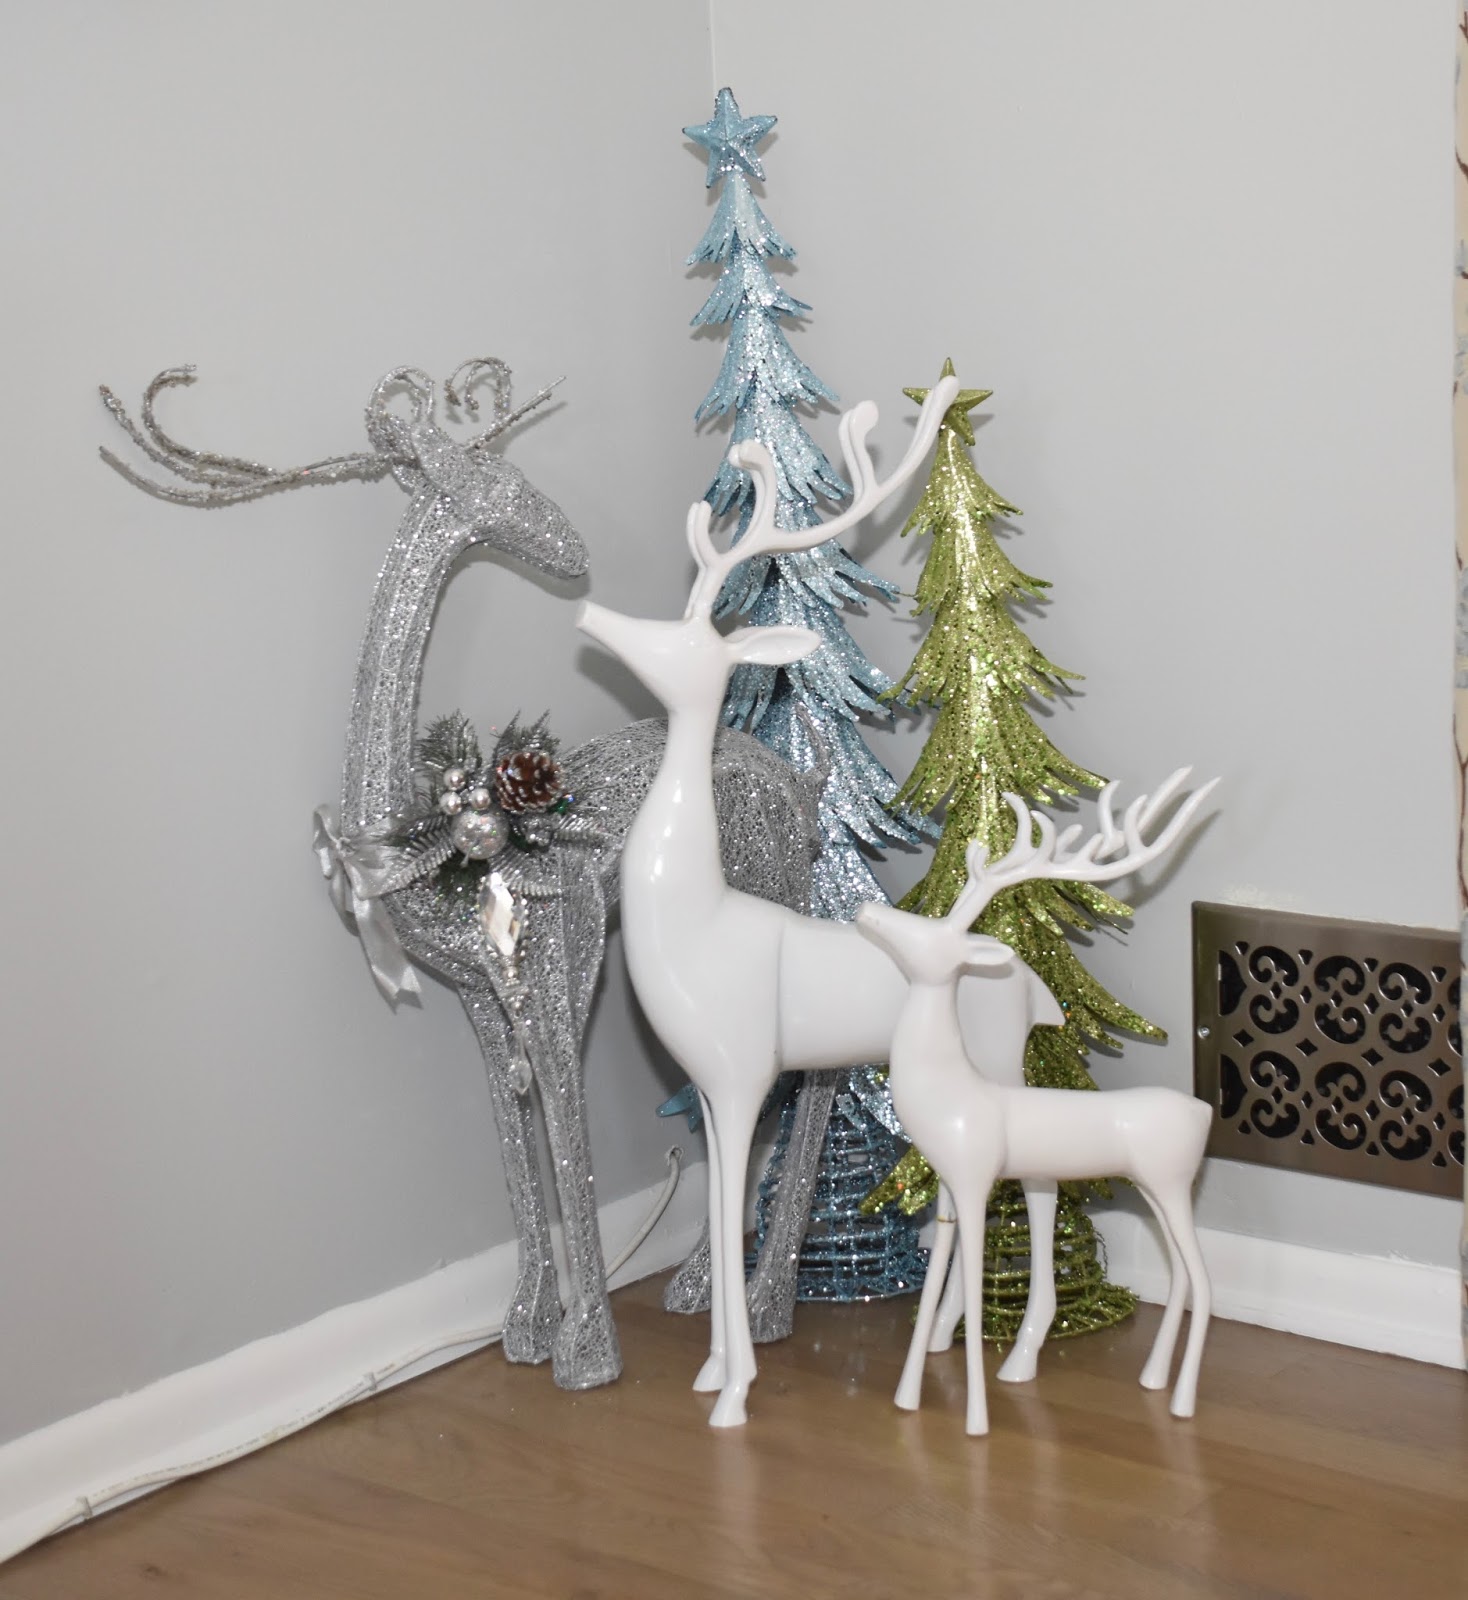
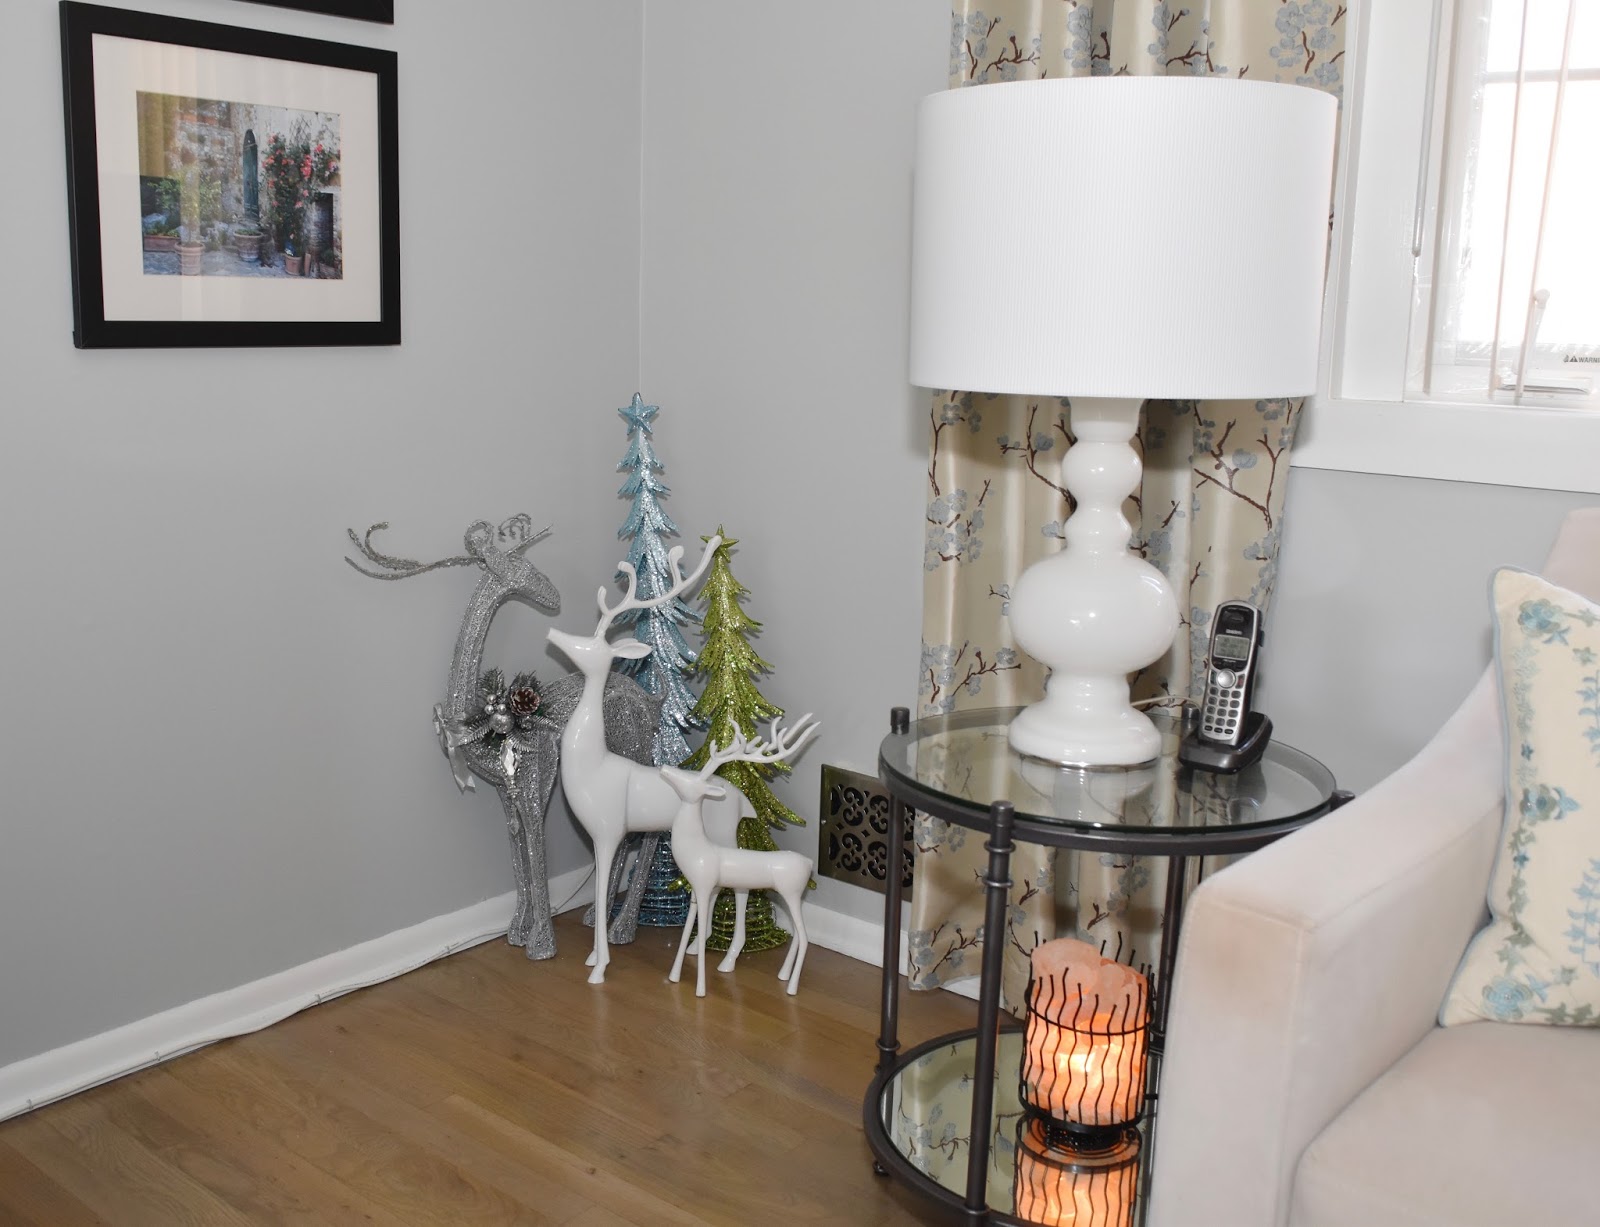
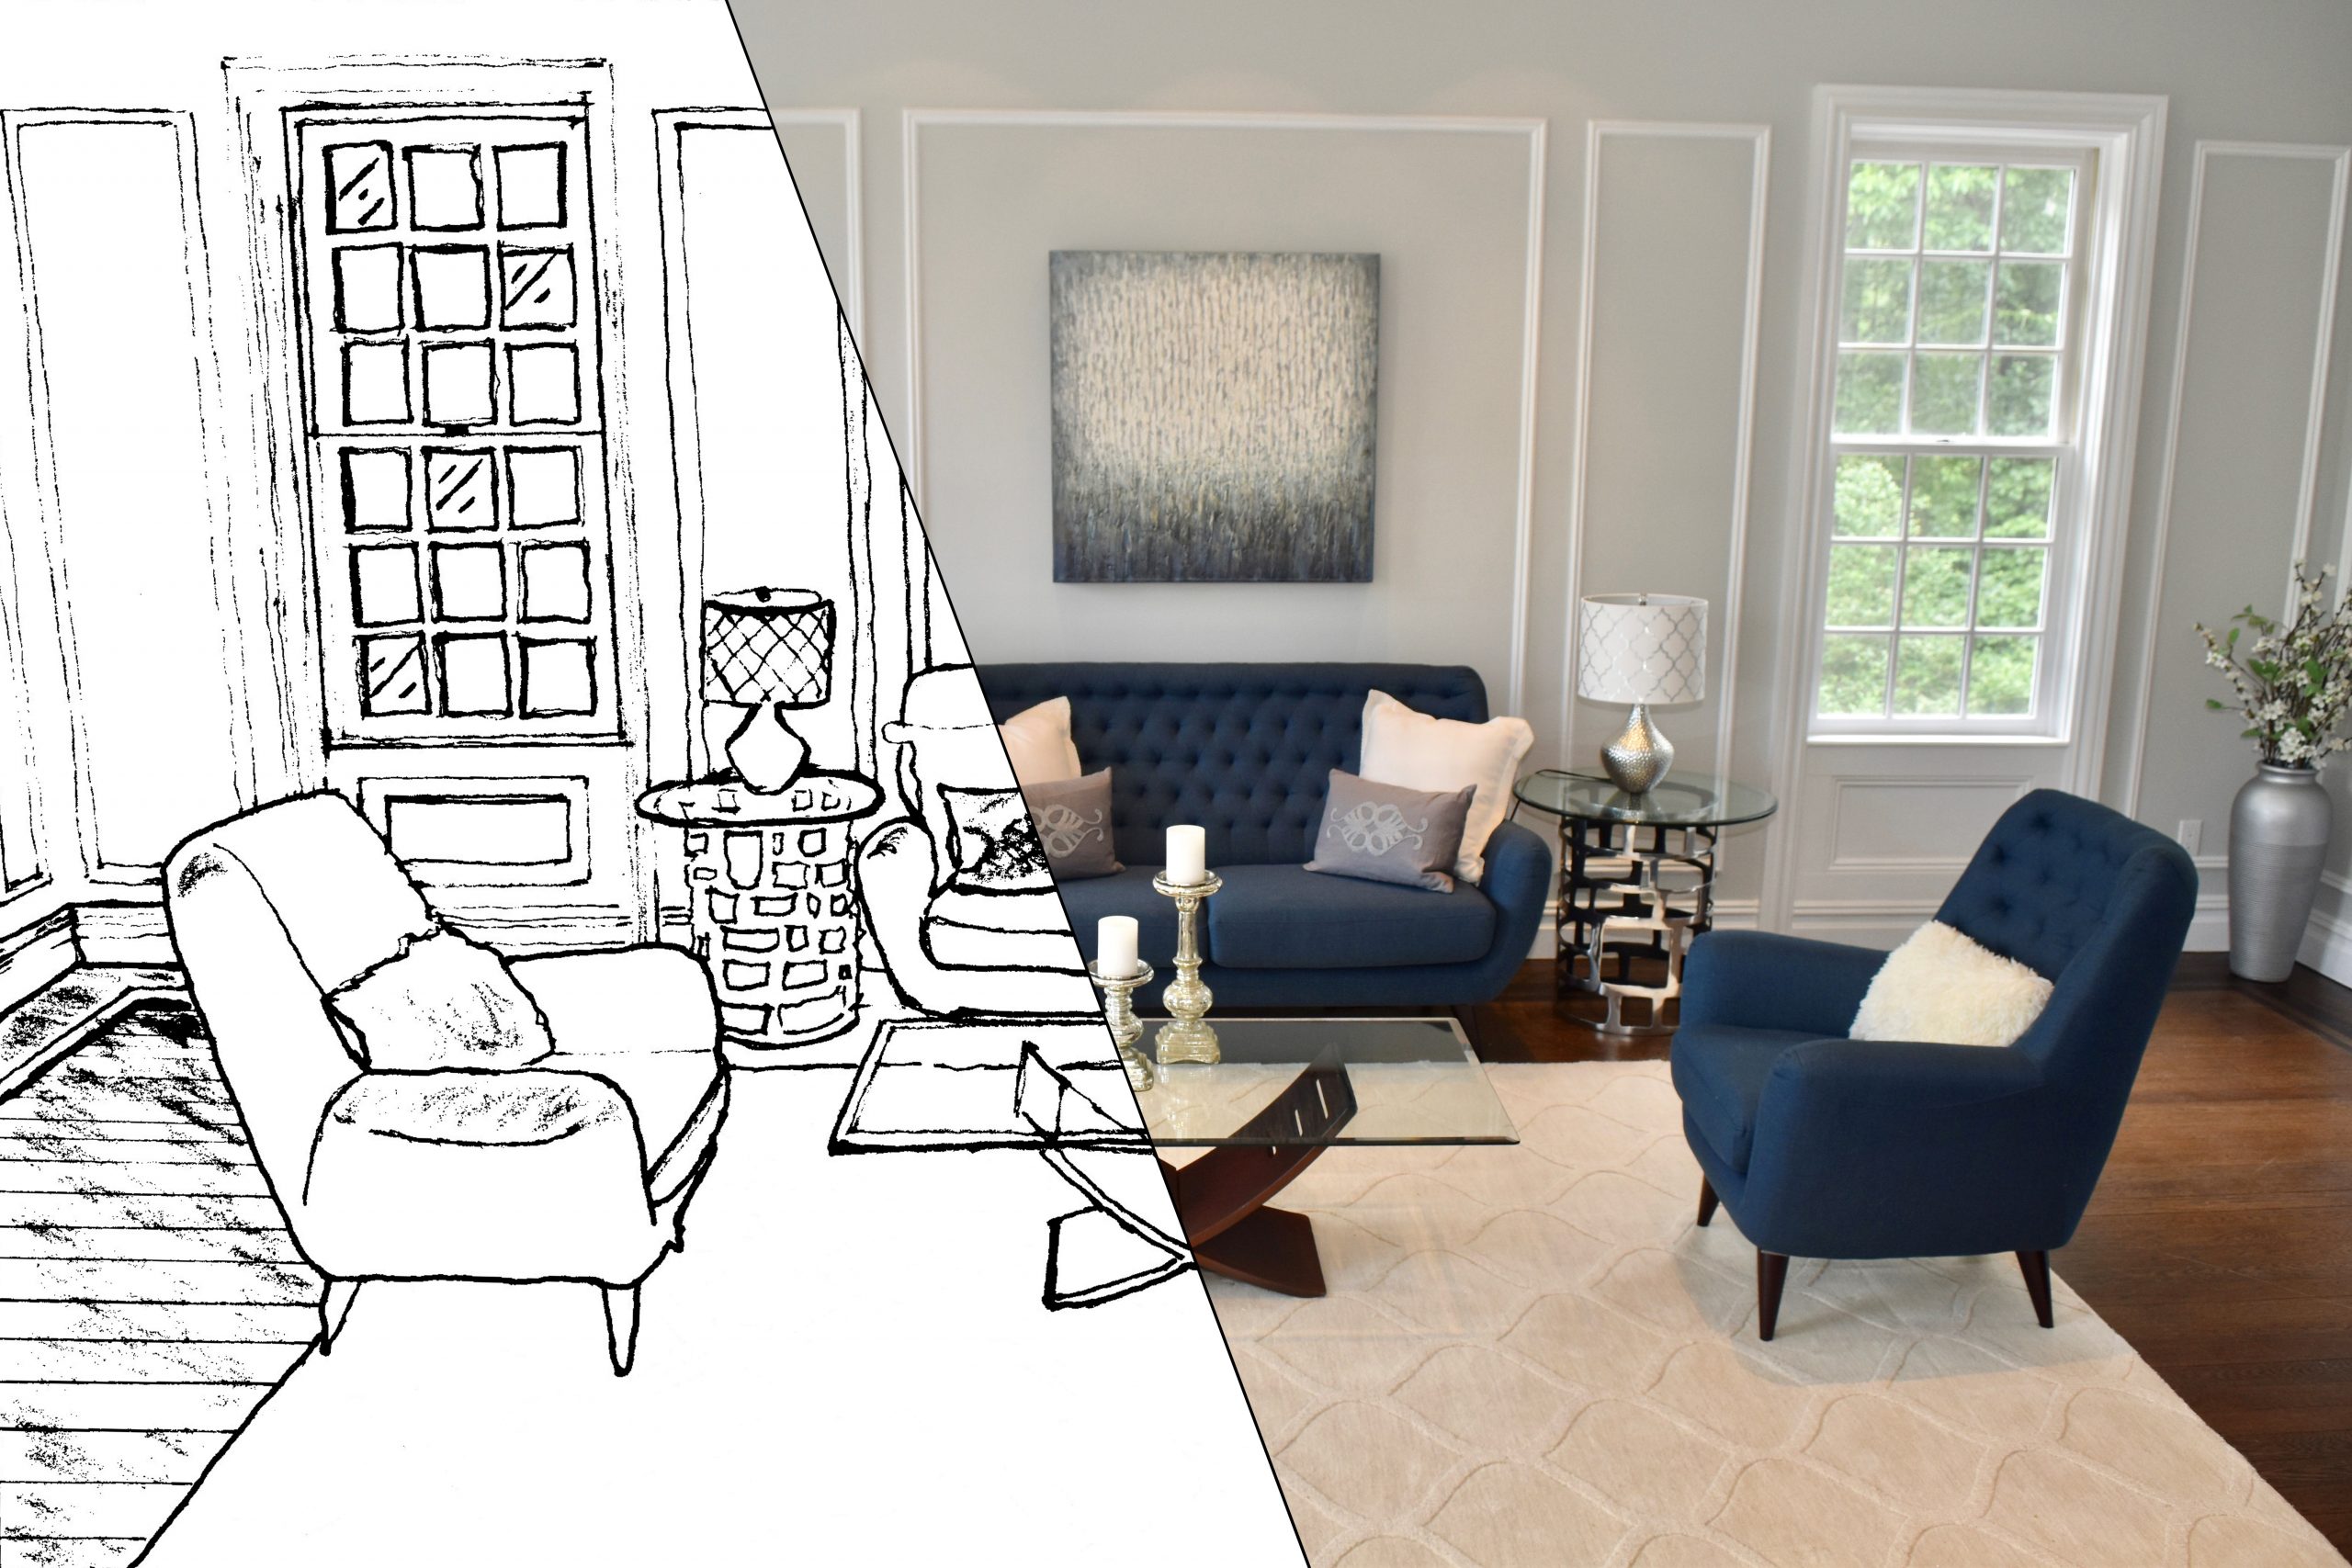
Some stagers state the fact that the reason some homeowners don’t want to stage is that they would have to dish out the money. While reducing the listing price is just “paper money.” This may be true, but if you have the chance to increase your profits, why wouldn’t you take it?? Vacant staging works because buyers can’t see the potential of the house. Have you ever looked at MLS listing of a vacant home? Can you tell me what purpose the room serves? 


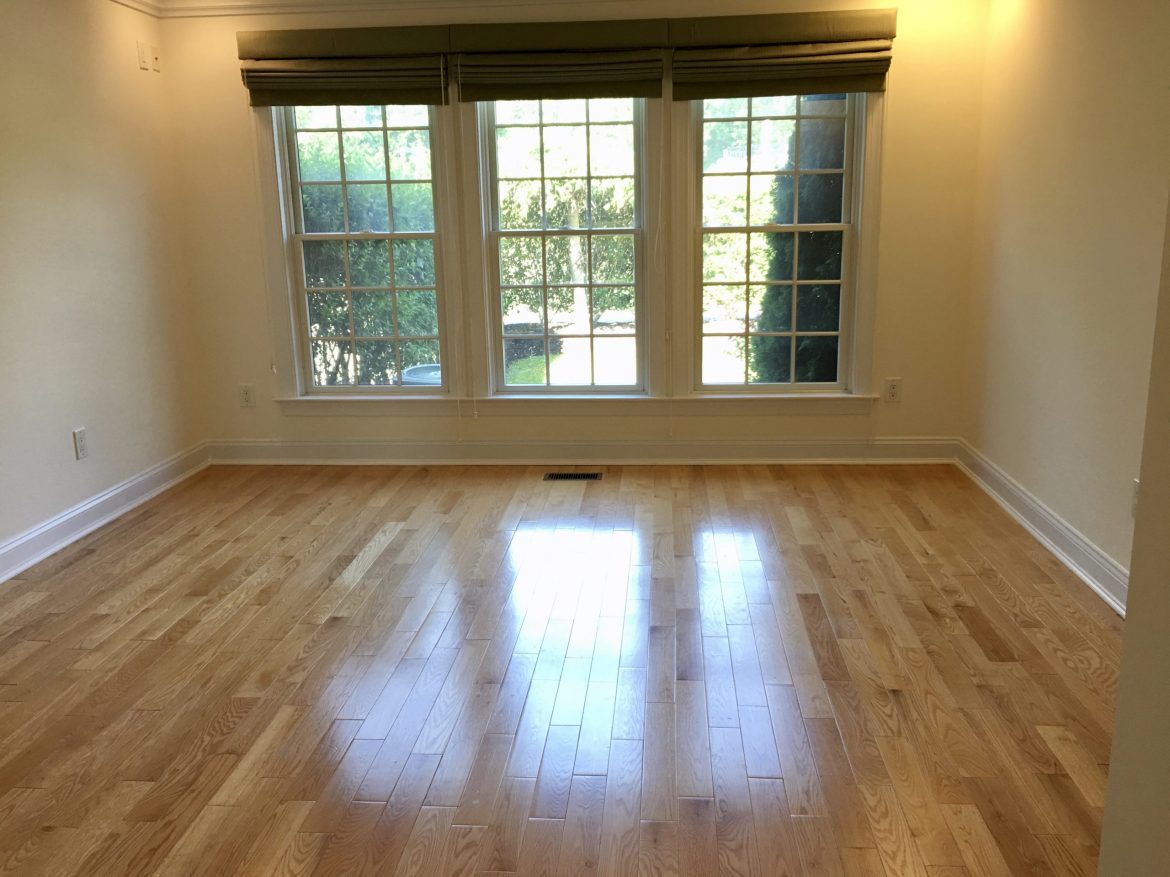
I recently had a call from a homeowner who had a vacant home on the market. When I looked at the MLS listing, I couldn’t tell which room was the master bedroom, dining room, or family room. The only space I could identify was the kitchen (for obvious reasons!). This was a 3.6 million dollar home!! I should have been “wowed,” but I wasn’t. It has been on the market for over seven months. Imagine the expenses the homeowner is carrying?? Yet when I told her the cost of staging her vacant home, she didn’t want to spend the money. Call me crazy, but I don’t get it. 


When you break it down, vacant staging is worth the cost, so why can’t homeowners see that? The fact that they would rather continue hemorrhaging money is baffling to me. If you take into consideration what it will cost you in the long run, staging a home will save you money. And that my friend is a fact you can take to the bank.
#AbellaHomeStaging


Staging a Semi-Vacant house

July 23, 2020

Staging a Semi-Vacant Home

Recently I stage what I call a semi-vacant home. What does that mean? Well, it means that the house is indeed vacant, but I was able to use some of the client’s furniture. By doing this, it allows me to keep the cost down, which is what every client wants!!

I don’t normally do this simply because there usually is no furniture in the house. However, sometimes the homeowner has left some furniture behind. If I feel that I can utilize the furniture, then I will.

The before pictures.

In the living room, I had the client remove the two armchairs. I felt they were a bit outdated. I did use the coffee table, the chest by the front door, and the metal end table, as well as the lamps and area rug.

The kitchen needed a table and chairs which the client had.


In the dining room, I kept the table but switched out the dining chairs. I did use the server.


I even used their wicker furniture for the spare room, which I turned into an office.


Here are the after pictures.

As you can see, just by switching out the armchairs and adding a sofa, it completely changed the look and feel of that space. I added my accessories to finish the look.


In the kitchen, I used her table and benches. I set the table and accessorized her kitchen.


Much more updated look just by changing out the chairs. The server was a good fit.

Here is the office. I eliminated all those stuffed animals, utilized her furniture, and used my accessories instead.


As you can see, adding some furniture updated the space. This will entice the buyers to schedule a visit to the home. That is what you want to attract buyers!!
#AbellaHomeStaging

Redesigning a Dining Room

June 25, 2020

Redesigning a Dining room

A few months ago, I had a client that reached out to me and wanted to redo her dining room. This was a client that I had done previous designs for in her home. In fact, I just finished designing her kitchen.

As you can tell from the pictures, it needed an update!! We talked about what she wanted in her new dining room. What style she liked and what pieces she wanted to keep. She decided she only wants to keep her hutch. We decided to paint it to give it a more updated look.

I set up a Pinterest board so she can pin some of her favorite pictures of dining room she liked. This gives me a good idea of her style.

Once that was done. It was time to shop!!

Here are the before pictures:


This is the hutch she wanted to keep and we decided to paint.

As you can see from the pictures, it needed to be updated. Once the shopping for the new dining room was done and the items delivered, I set up a date and time to come in and finish the space by accessorizing it.

Here are the after pictures:


What a huge difference. My client was thrilled with the results. Do you have a room you need help designing? Then reach out to me, and let’s get started.
#AbellaHomeStaging


Rules of Placement

October 17, 2019

Rules of Placements

Have you ever wanted to know the designers’ secrets rules of placements? Ever wonder, “What is the correct placement of this______?” You can fill in the blanks with any scenario. It helps to know the guidelines. As a designer, there have been many times I have walked in a homeowner’s home and notice the placement is wrong. Here are some guidelines to help you figure out the arrangements,

1. The perfect viewing height for art placements is 60″ above the floor to the center of the art.

2. The perfect amount of space between wall art/mirror and top of the mantle is 7 inches.

3. The ideal height to hang your flat-screen TV is eye level when you’re in viewing position. The perfect viewing position distance is 1 1/2 times the size of your flat-screen TV.

4. A bed should be 23″ off the floor no higher.

5. A bench at the foot of the bed should be no less than 2″ shorter than the mattress width.

6. Keep a minimum of 15″ between the coffee table and sofa.
7. Don’t use end tables lower than 30″. The lamps will be positioned much better, and the proportion is better.

8. There should be a minimum of 36″ of space around your dining table to allow better flow and use.

9. Light switches should be 36″ above the floor and 1 1/2 to 2 ” off the side. This way, they are out of the way of your door casing.
10. The optimal height for your coffee table is 18″ to 20.”
These are just guidelines. As you may know, many of them have been broken like the art over the mantle. Now they lean the artwork right on the mantle. And the bench at the foot of the bed, I have seen two ottomans that work nicely.

The rules are there to guide you. Some may be broken, others like the light switch placement, and dining room table placement is good to know. Use your eyes as your best source of judgment. 

All Images Via Pinterest
#AbellaHomeStaging

Decorating for the Holidays!!

November 30, 2017

Decorating for the Holidays can be overwhelming. The problem usually is, “Where do I put everything?” Here’s a solution you might want to try, create vignettes. This will allow you to use more items!! Also, think outside the box!! Who says your Christmas decor has to be the traditional red and green? Why not use another color theme? I decided to use turquoise, chartreuse green, and white. And I love it!!

As you can see here, I grouped a few items together, allowing me to use more of my decor. Layering is key to good decorating!!

Here’s a grouping of deers and trees!!

I try to utilize all the space in my home, including the kitchen. The decor that hangs over the kitchen window was handmade. I merely brought items that worked well together. I also kept my color theme in mind.

If you look closely, you can see that I added the ornament and greenery to the bow. Again layering!!

Think outside the box!! Use items that can work with your decor. In this instance, I used my white tray and white candlestick holders.

 Here’s an overview of my living room.

Close-up of the tree. You can see I used a lot of items, besides the conventional Christmas Tree balls. Walmart has an enormous selection priced right!!

Of course, I don’t use a traditional Christmas tree topper!! I like to make my own. I use this unusual item as my tree topper.

I go one step further and make sure my wrapping paper co-ordinates with my color theme!! I know! I know!! A bit over the top here!!

I even had the Christmas stocking embroidered to color coordinate with my color theme! I also added an ornament with some greenery to embellished it (again layering).

My favorite is the stair railing!! I love the way it turned out. I added some burlap bows and turquoise bells. Again layering!!

Second Christmas tree by the front door. Continued the color theme. 

Here I added the same ornament and greenery from the Christmas stocking and silver bow.

Here’s an overview of the dining room. I’m hoping next year to purchase a new dining room set since I sold my old one when I moved into this house. So, for now, this folding table and chairs will have to do!!

The most important thing to remember when decorating is to layer!! Take a step back during the process to evaluate your work. Need more? Then add to it. Don’t be afraid to think outside the box. Some of my best work has been created when I think outside the box. Most of all have fun!! Drink eggnog (or wine!!) and put on some Christmas music!! In the end, you will have a beautifully decorated home!!
#abellahomestaging.com