

Adding to my Ikea bookcase
April 2, 2020
Adding to my Ikea bookcase
I’ve wanted to add to my Ikea bookcase in my office. It was nice, but I wanted more storage for my books, and I wanted to make it look a bit more upscale.
I had some electrical work done, and I was now able to add to the bookcase I had. It’s something that I wanted to do for a while.
Here is how the project unfolded.
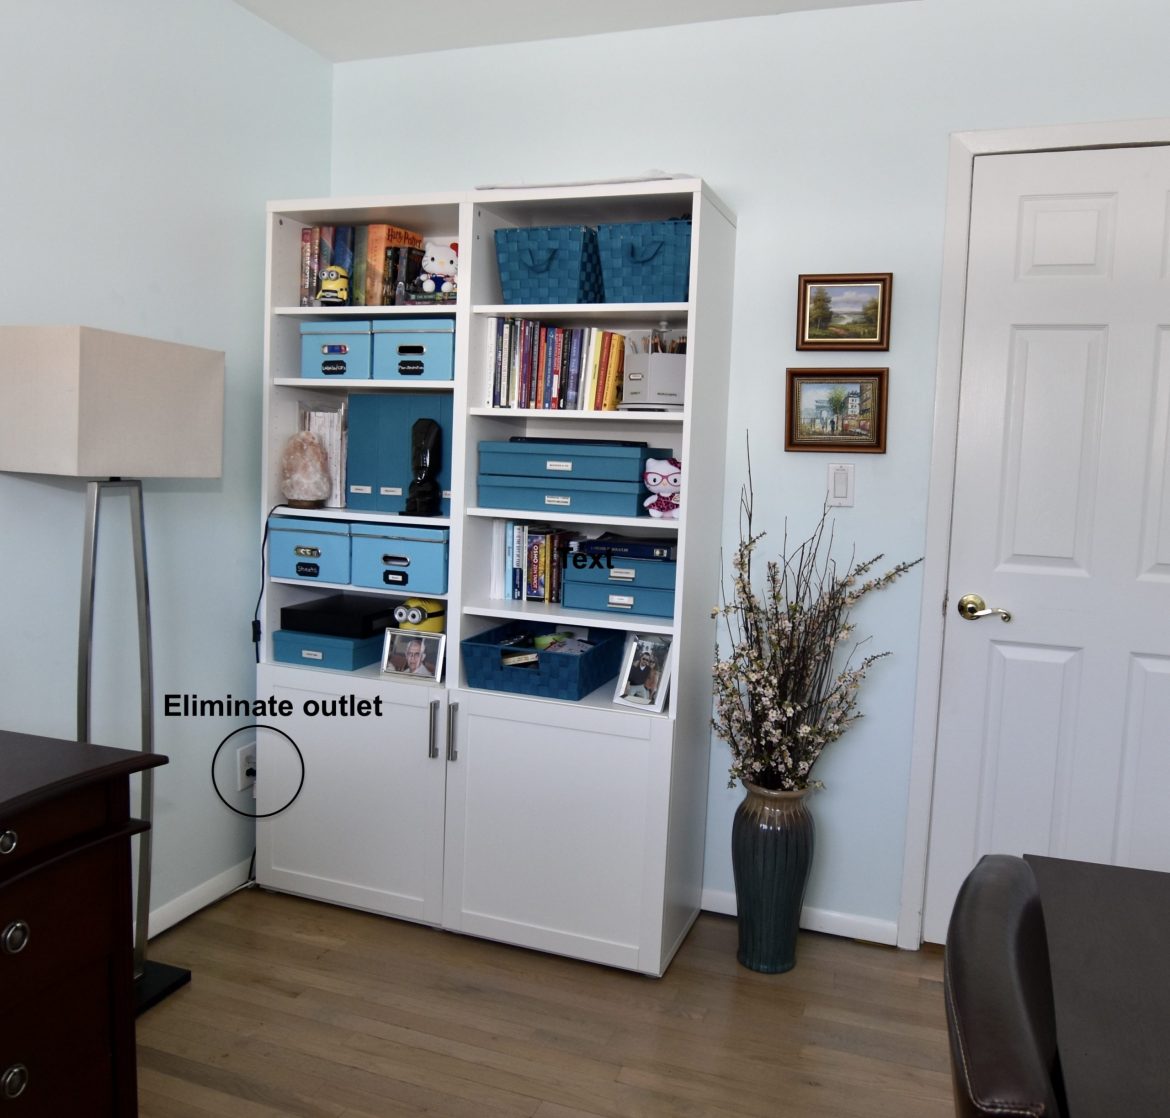
This is how it looked before. Not bad, but I wanted something a little bit more upscale in design. You can see in the photo that the outlet was an issue.

I eliminated the outlet, and that allowed me to move the bookcase. Giving me the space I needed to add to it. I used an electrical cover plate.

As you can see here, it didn’t leave me with a huge space (don’t mind that I’m in the picture!!).

I did check Ikea first to see if they had a bookcase that I could use in that space. Unfortunately, they had a 15″ size bookcase I need a 10.5″ size bookcase. It was not going to work. I was going to have to build it.
So off to Home Depot I went to get the materials I needed. Here it is, although it’s not entirely done yet. I need to add the backing to it.

I added a masonite board. That allowed it to have a backing without adding weight since it’s only about 1/8″ thick.

I used finishing nails and made sure I didn’t go through the board!!

There was also an issue of the bookcase not being flushed against the wall. Because walls are rarely straight!! There were some gaps. I used a 2×2 and glued it to the bookcase, but there was a small gap at the bottom, so I had to be creative, and I used shims to fill in the gaps. It worked out beautifully!!


Once I had all the pieces I needed, the last on the agenda was to install crown molding. You can see I used finishing nails again, but some holes needed to be filled.

First, I use this tool ( I have no idea what’s called). But you use it to pushed the nails in so that it’s easier to fill in the hole. It gives you a nice clean look.


I also filled in all the gaps between the bookcase and the walls.


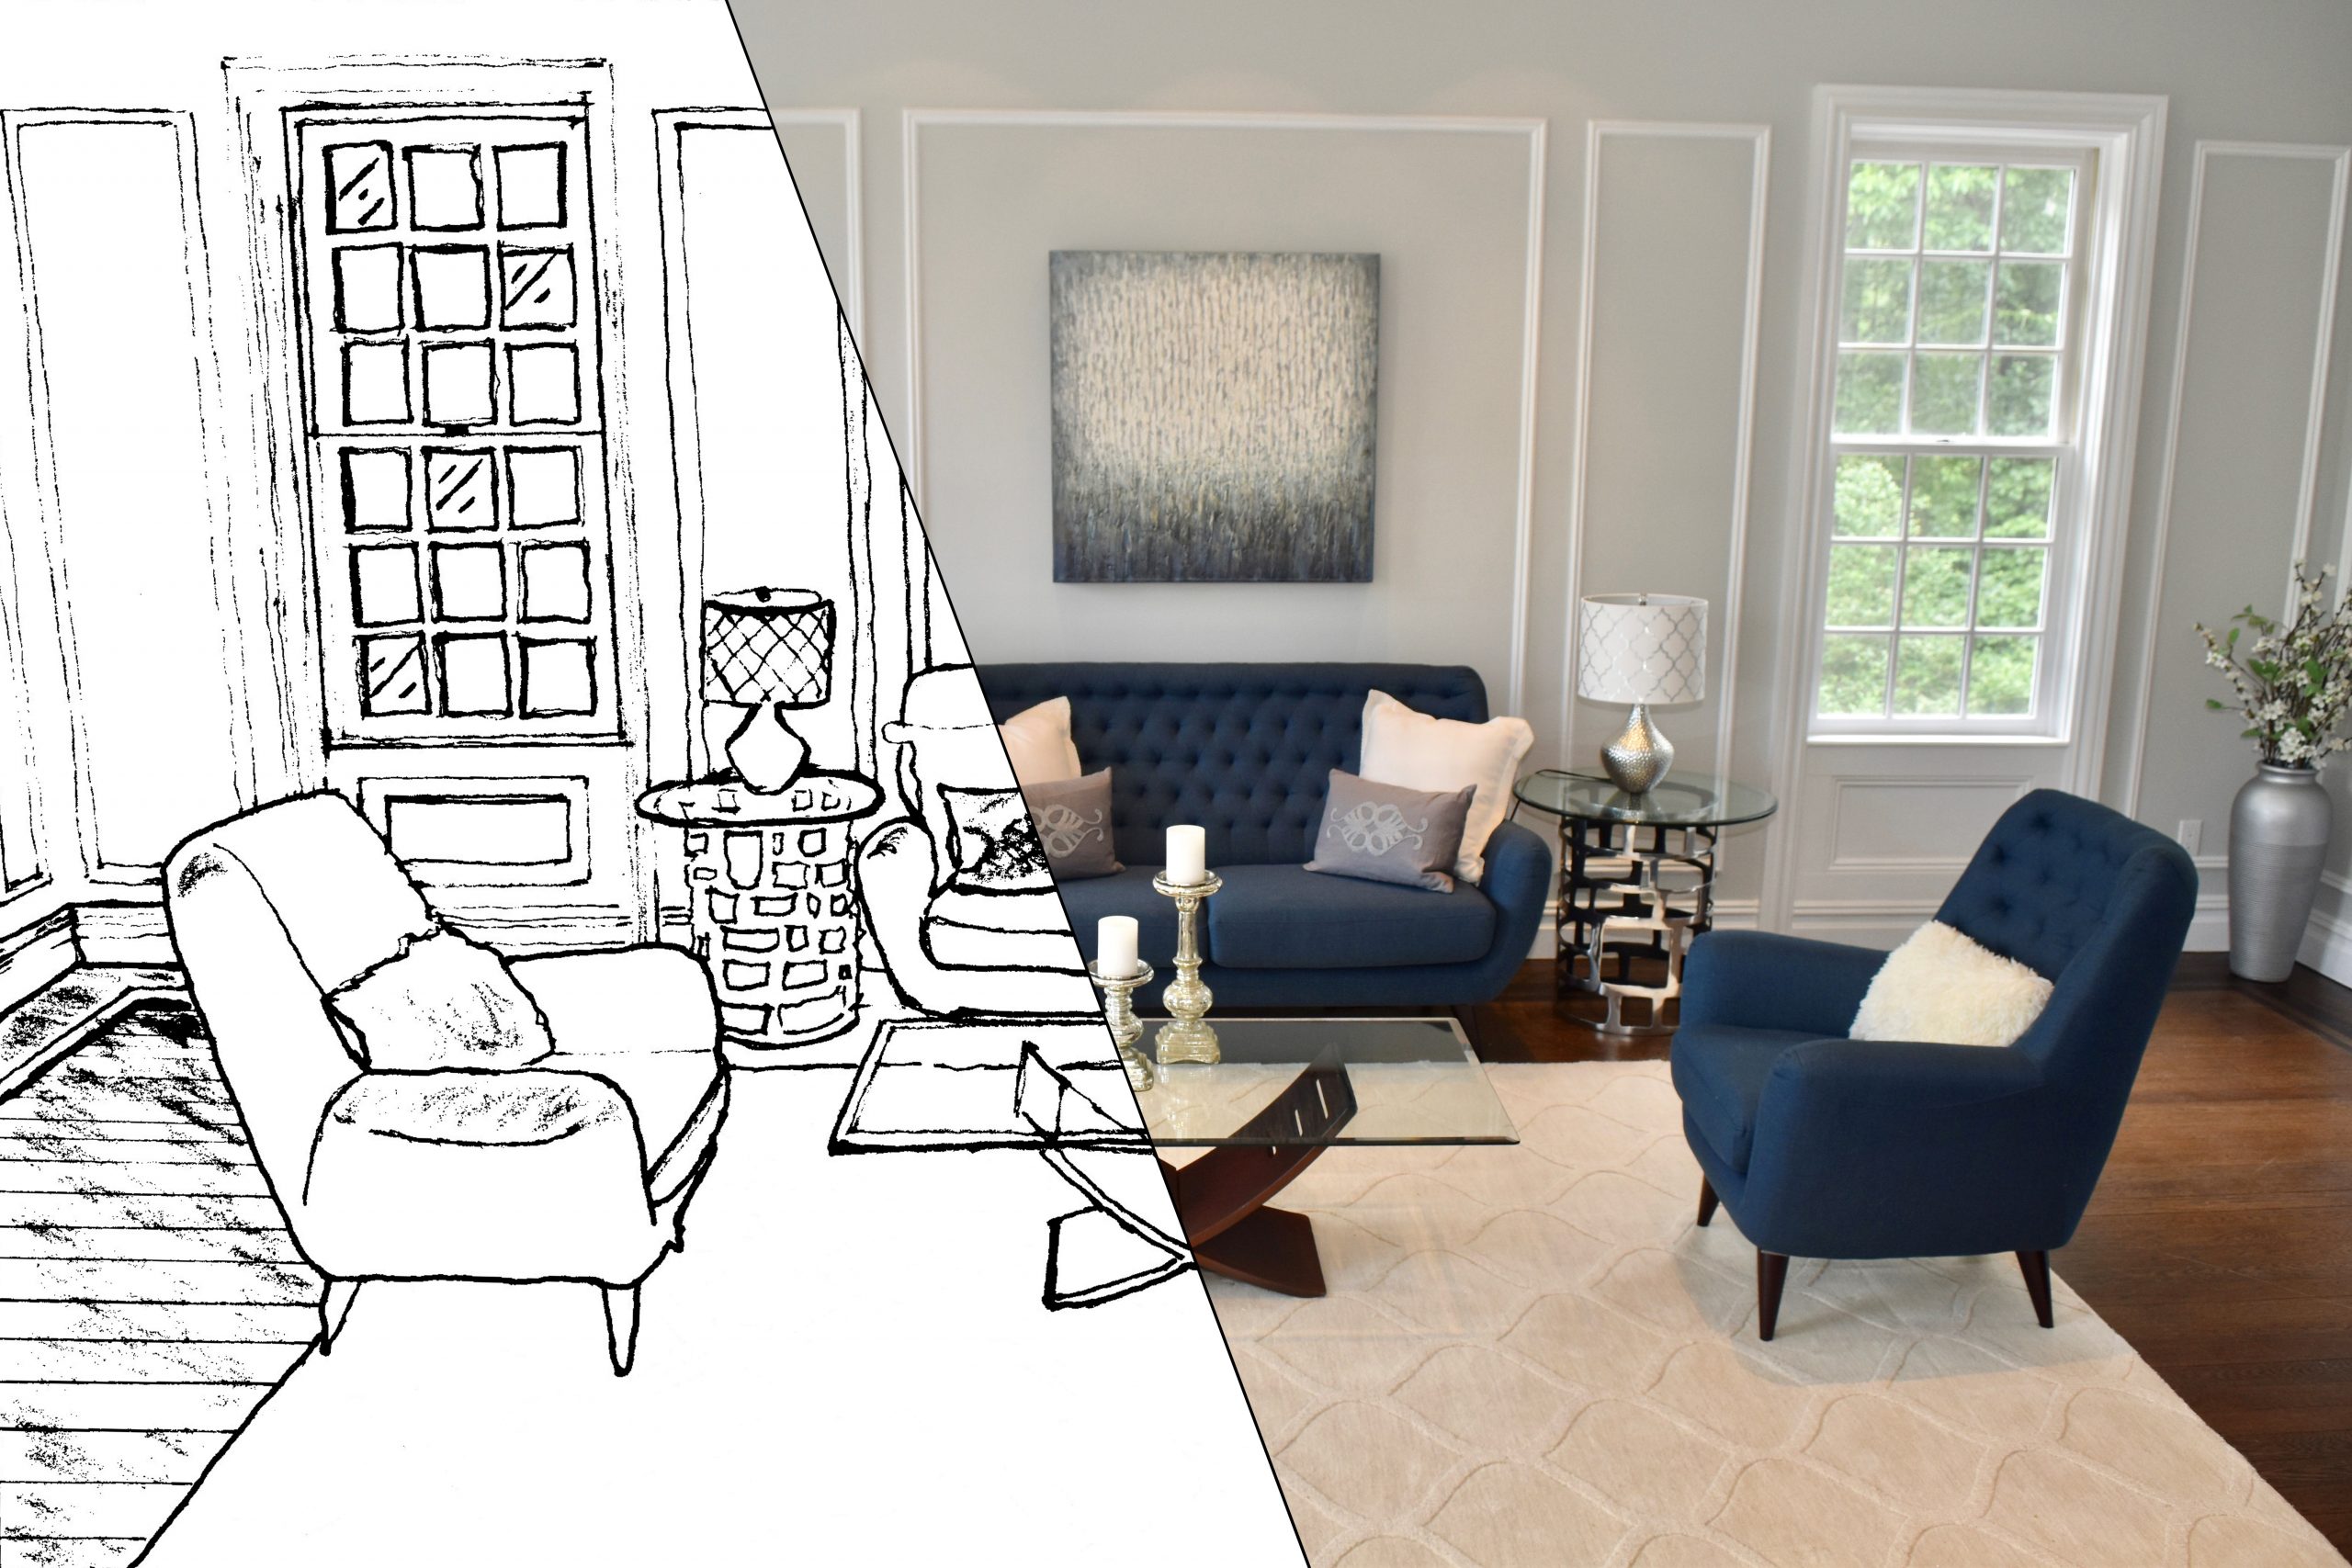
I am delighted with the way it turned out, as you can see from the before and after photos. It looks so much better.

#AbellaHomeStaging