

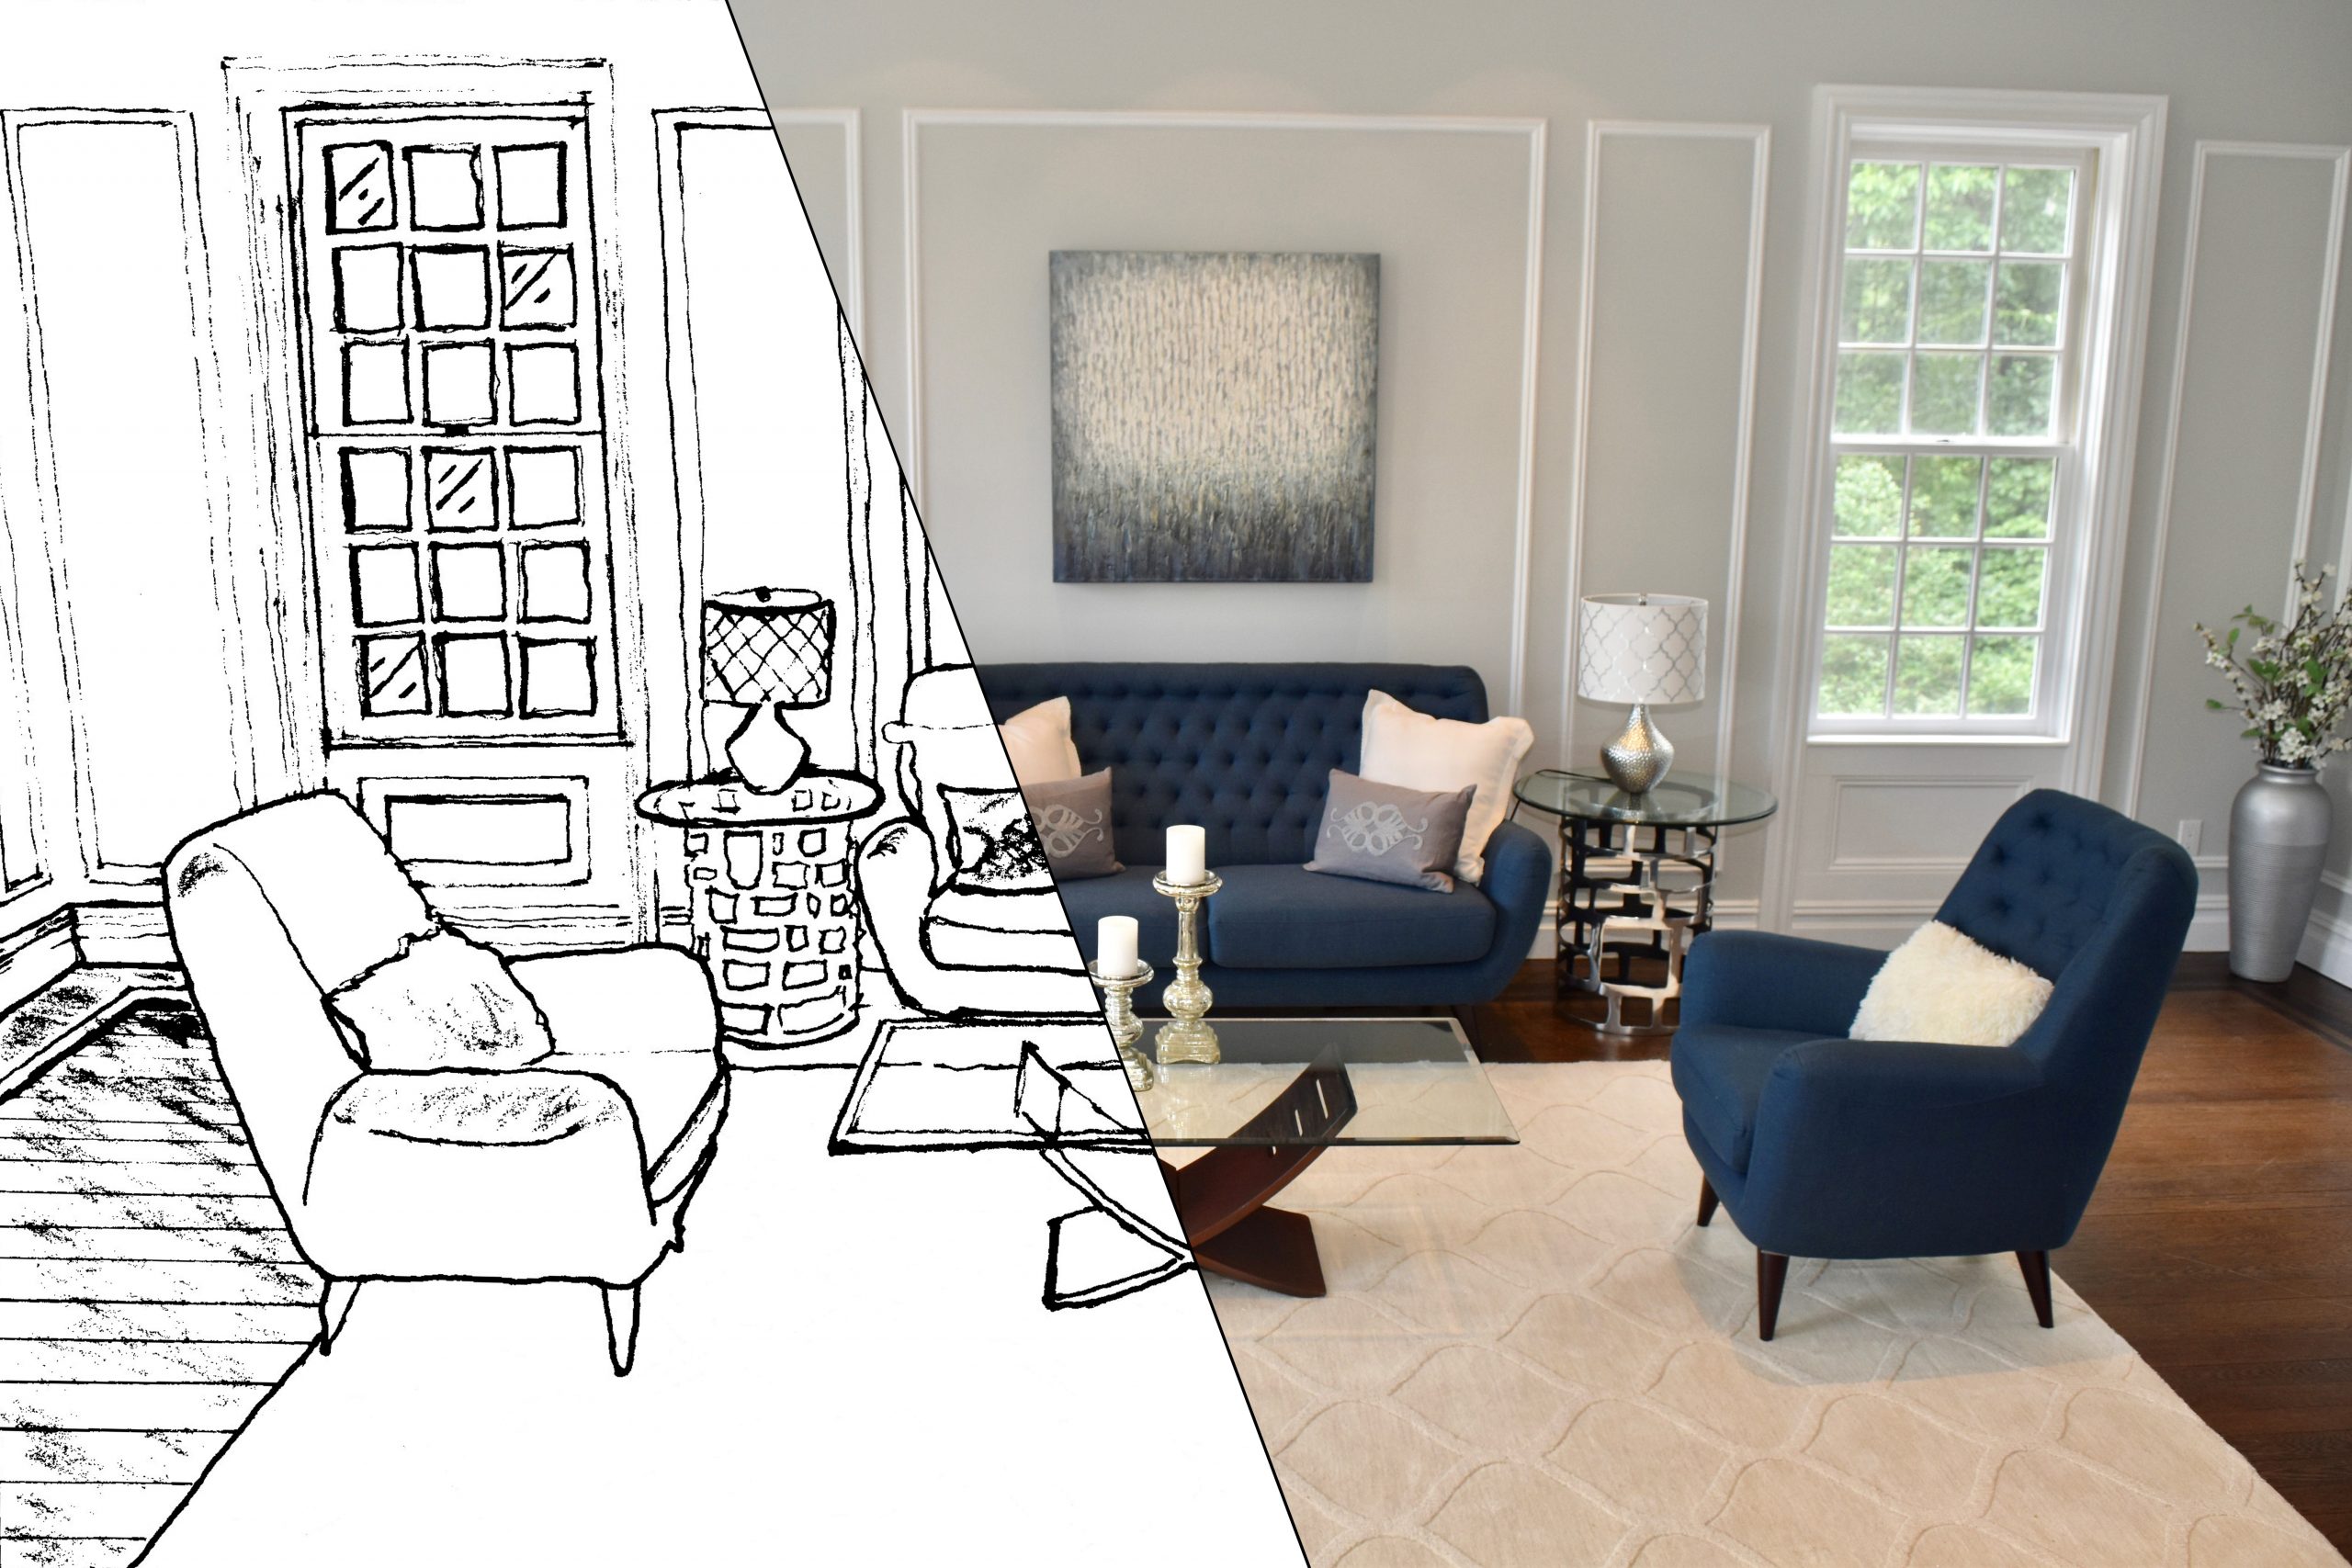
Creating a perfect Grid Wall
Have you ever thought about creating an accent wall? A grid wall is a beautiful accent wall; you can make it yourself, but it requires a bit of math.
Step 1 – Plan out the grid
- Measure the wall – measure the width and length in inches.
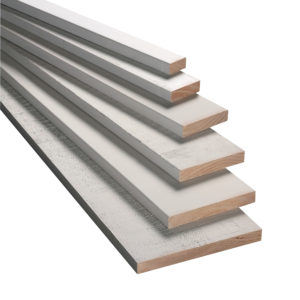
- Choose your material – determine the width of your grid lines. For example, do you want to use 1×4, 1×3 1×2 boards? (That is the width of the boards. I like 1×3).
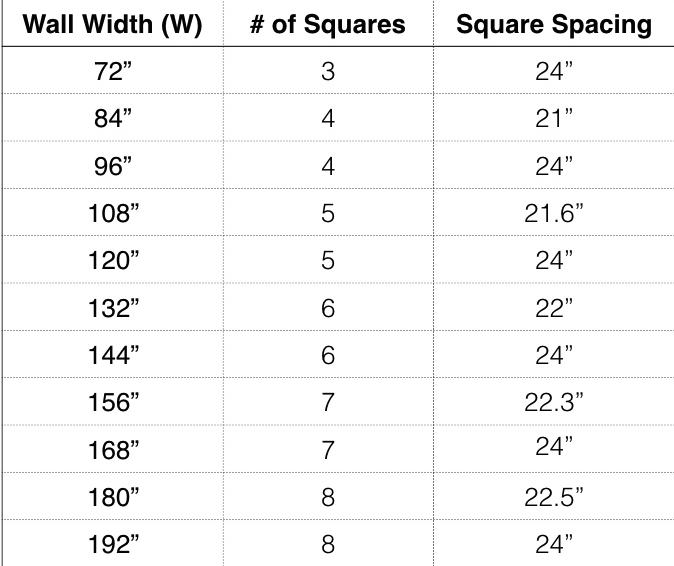
3. Calculate your squares– The key to a perfect grid wall is to make your grids as close to courts as possible. Since your wall width is unlikely to be the same height as your ceiling, this can be a little tricky. We like to have our squares ideally be about 16-24″ on a side. Anything smaller can end up looking too busy. On the other hand, if the courts get too big, they look, well…too big.
If your wall width or height happens to be an even number, like 8 ft, divide by 2 ft to determine how many squares you will have in either direction. If your wall width or height is an odd number, you will have to get a little more creative. We came up with a handy table to take all the guesswork out of it for you:
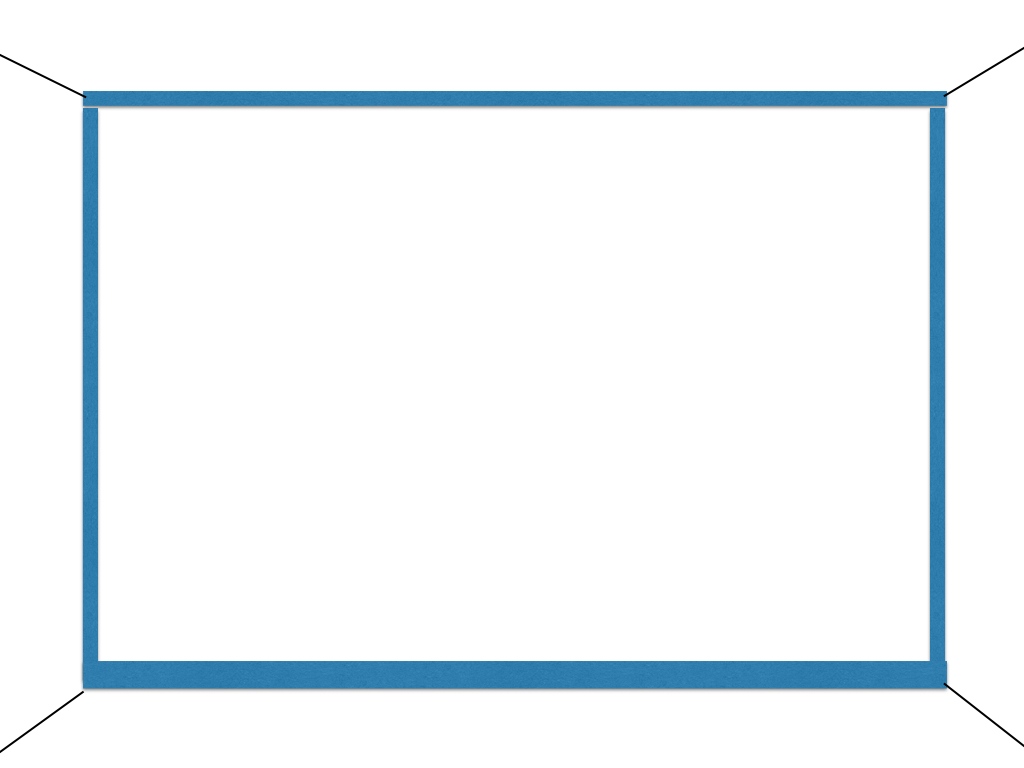
Step 2 – Install the frame
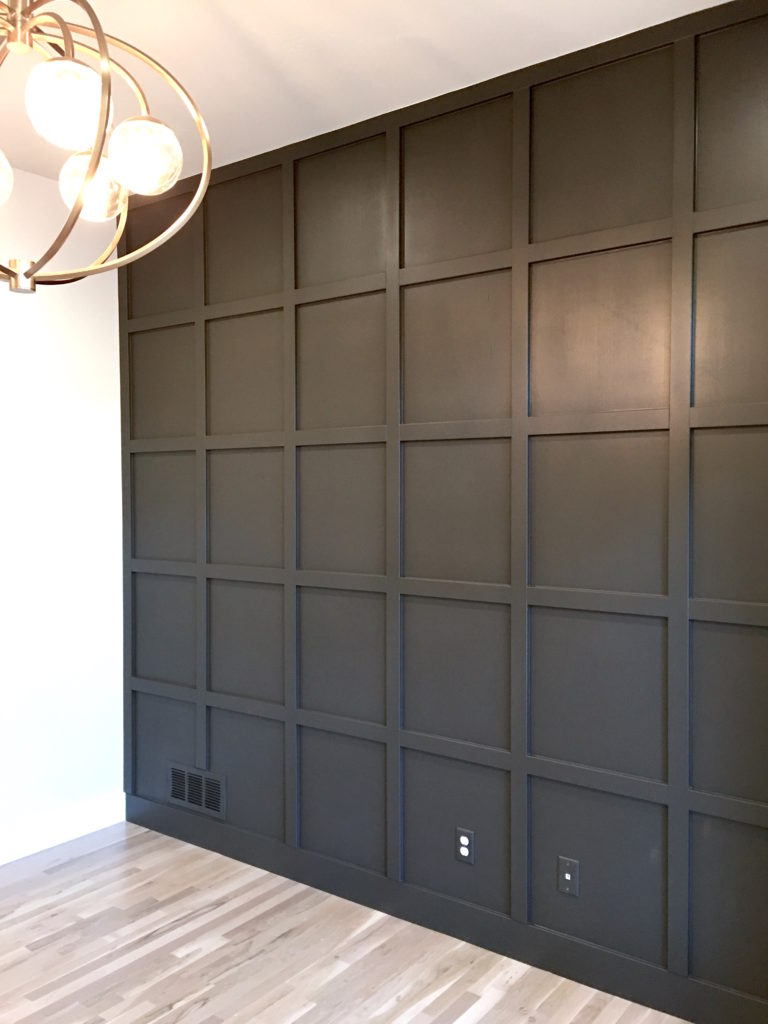
Create a frame around your grid wall. It should look like this.
Step 3 – Install the vertical pieces.
Vertical pieces are easier to install because they create fewer cuts than horizontal pieces.
Just a little bit more math…
The distance between the edges of your vertical pieces will not be the same as the square spacing we provided in the table above due to the width of your wood. So, how do you figure out the space between your vertical wood pieces? Here is the formula:

Step 4 – Calculate your horizontal spacing
Use the same procedure you used to calculate the width of the wall. Repeat it for the height of the wall
Step 5 – Create two spacer
Cut two pieces of wood precisely the tiny size. This will help you to ensure that the spaces are exact.
![]()
Step 7 – Fill nail holes and caulk
Step 8 – Paint and enjoy your new wall!!