

Many Different Styles of Shelving
June 1, 2023
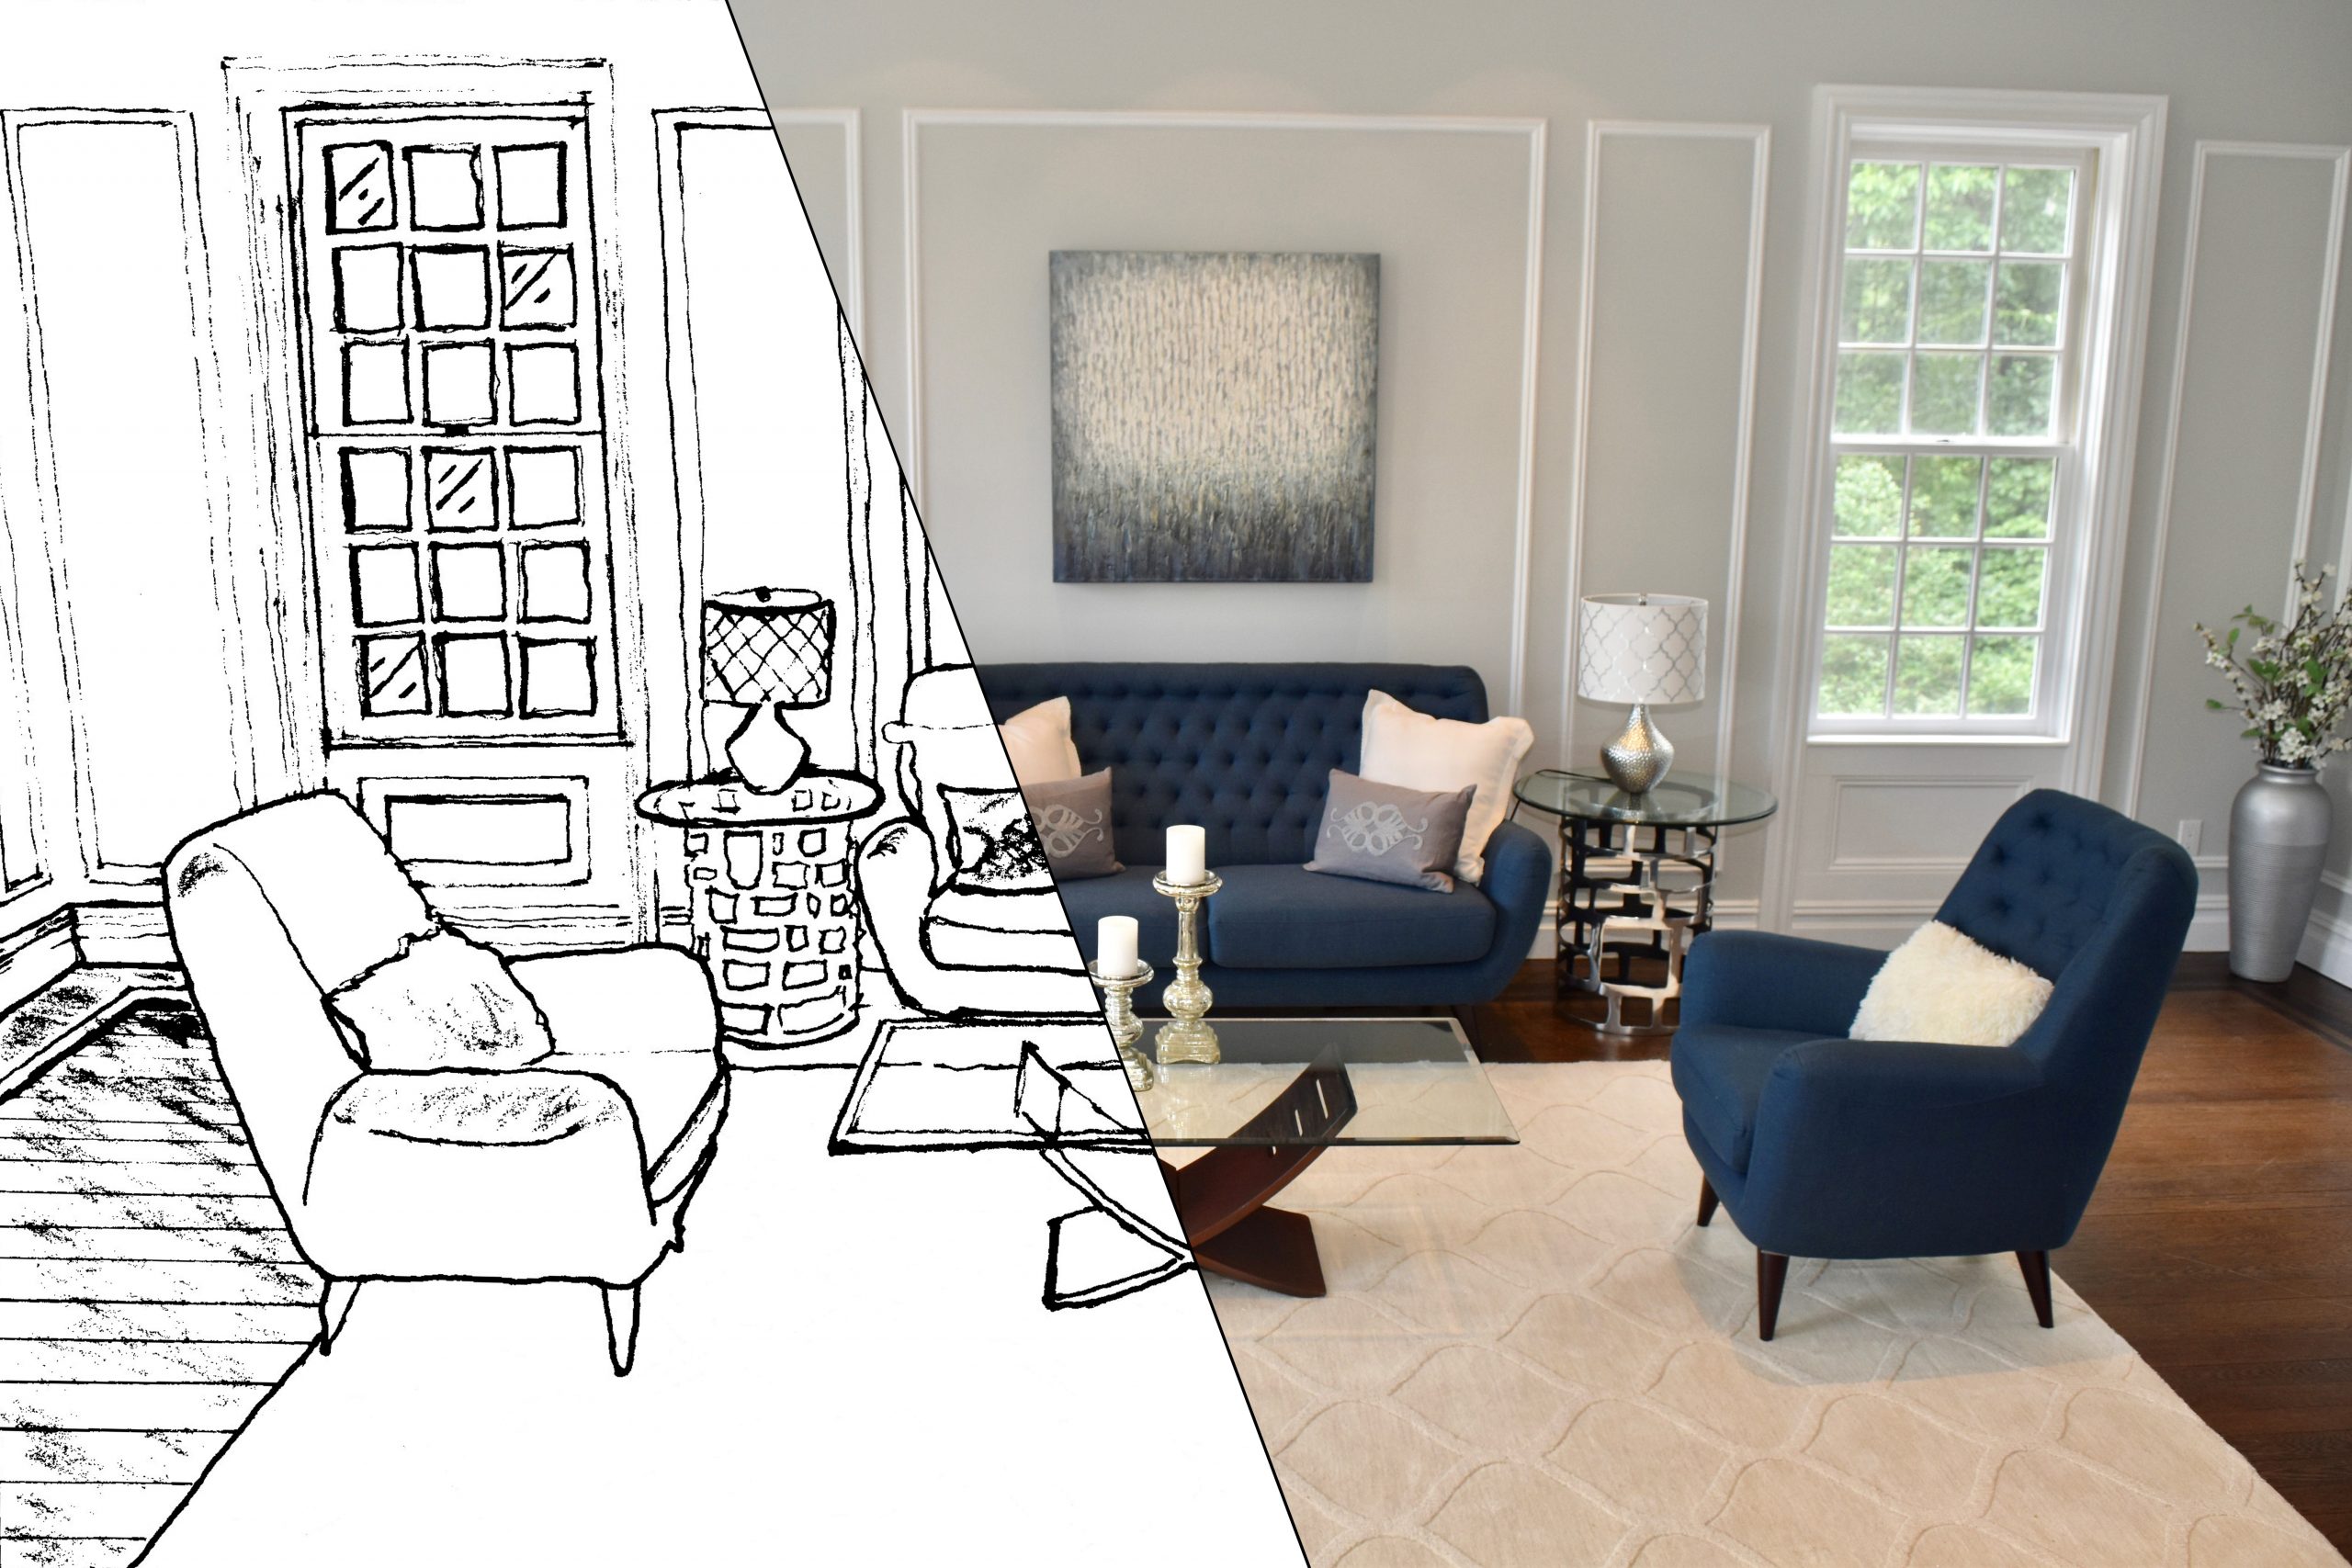
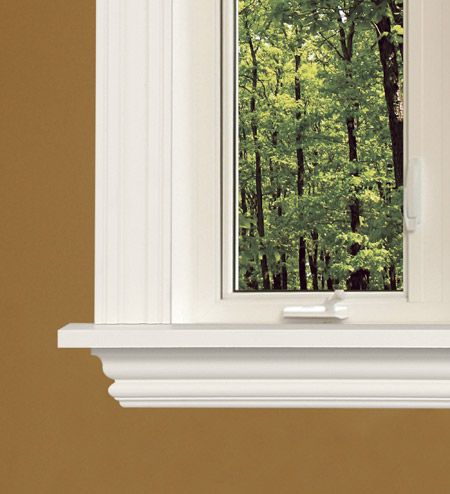
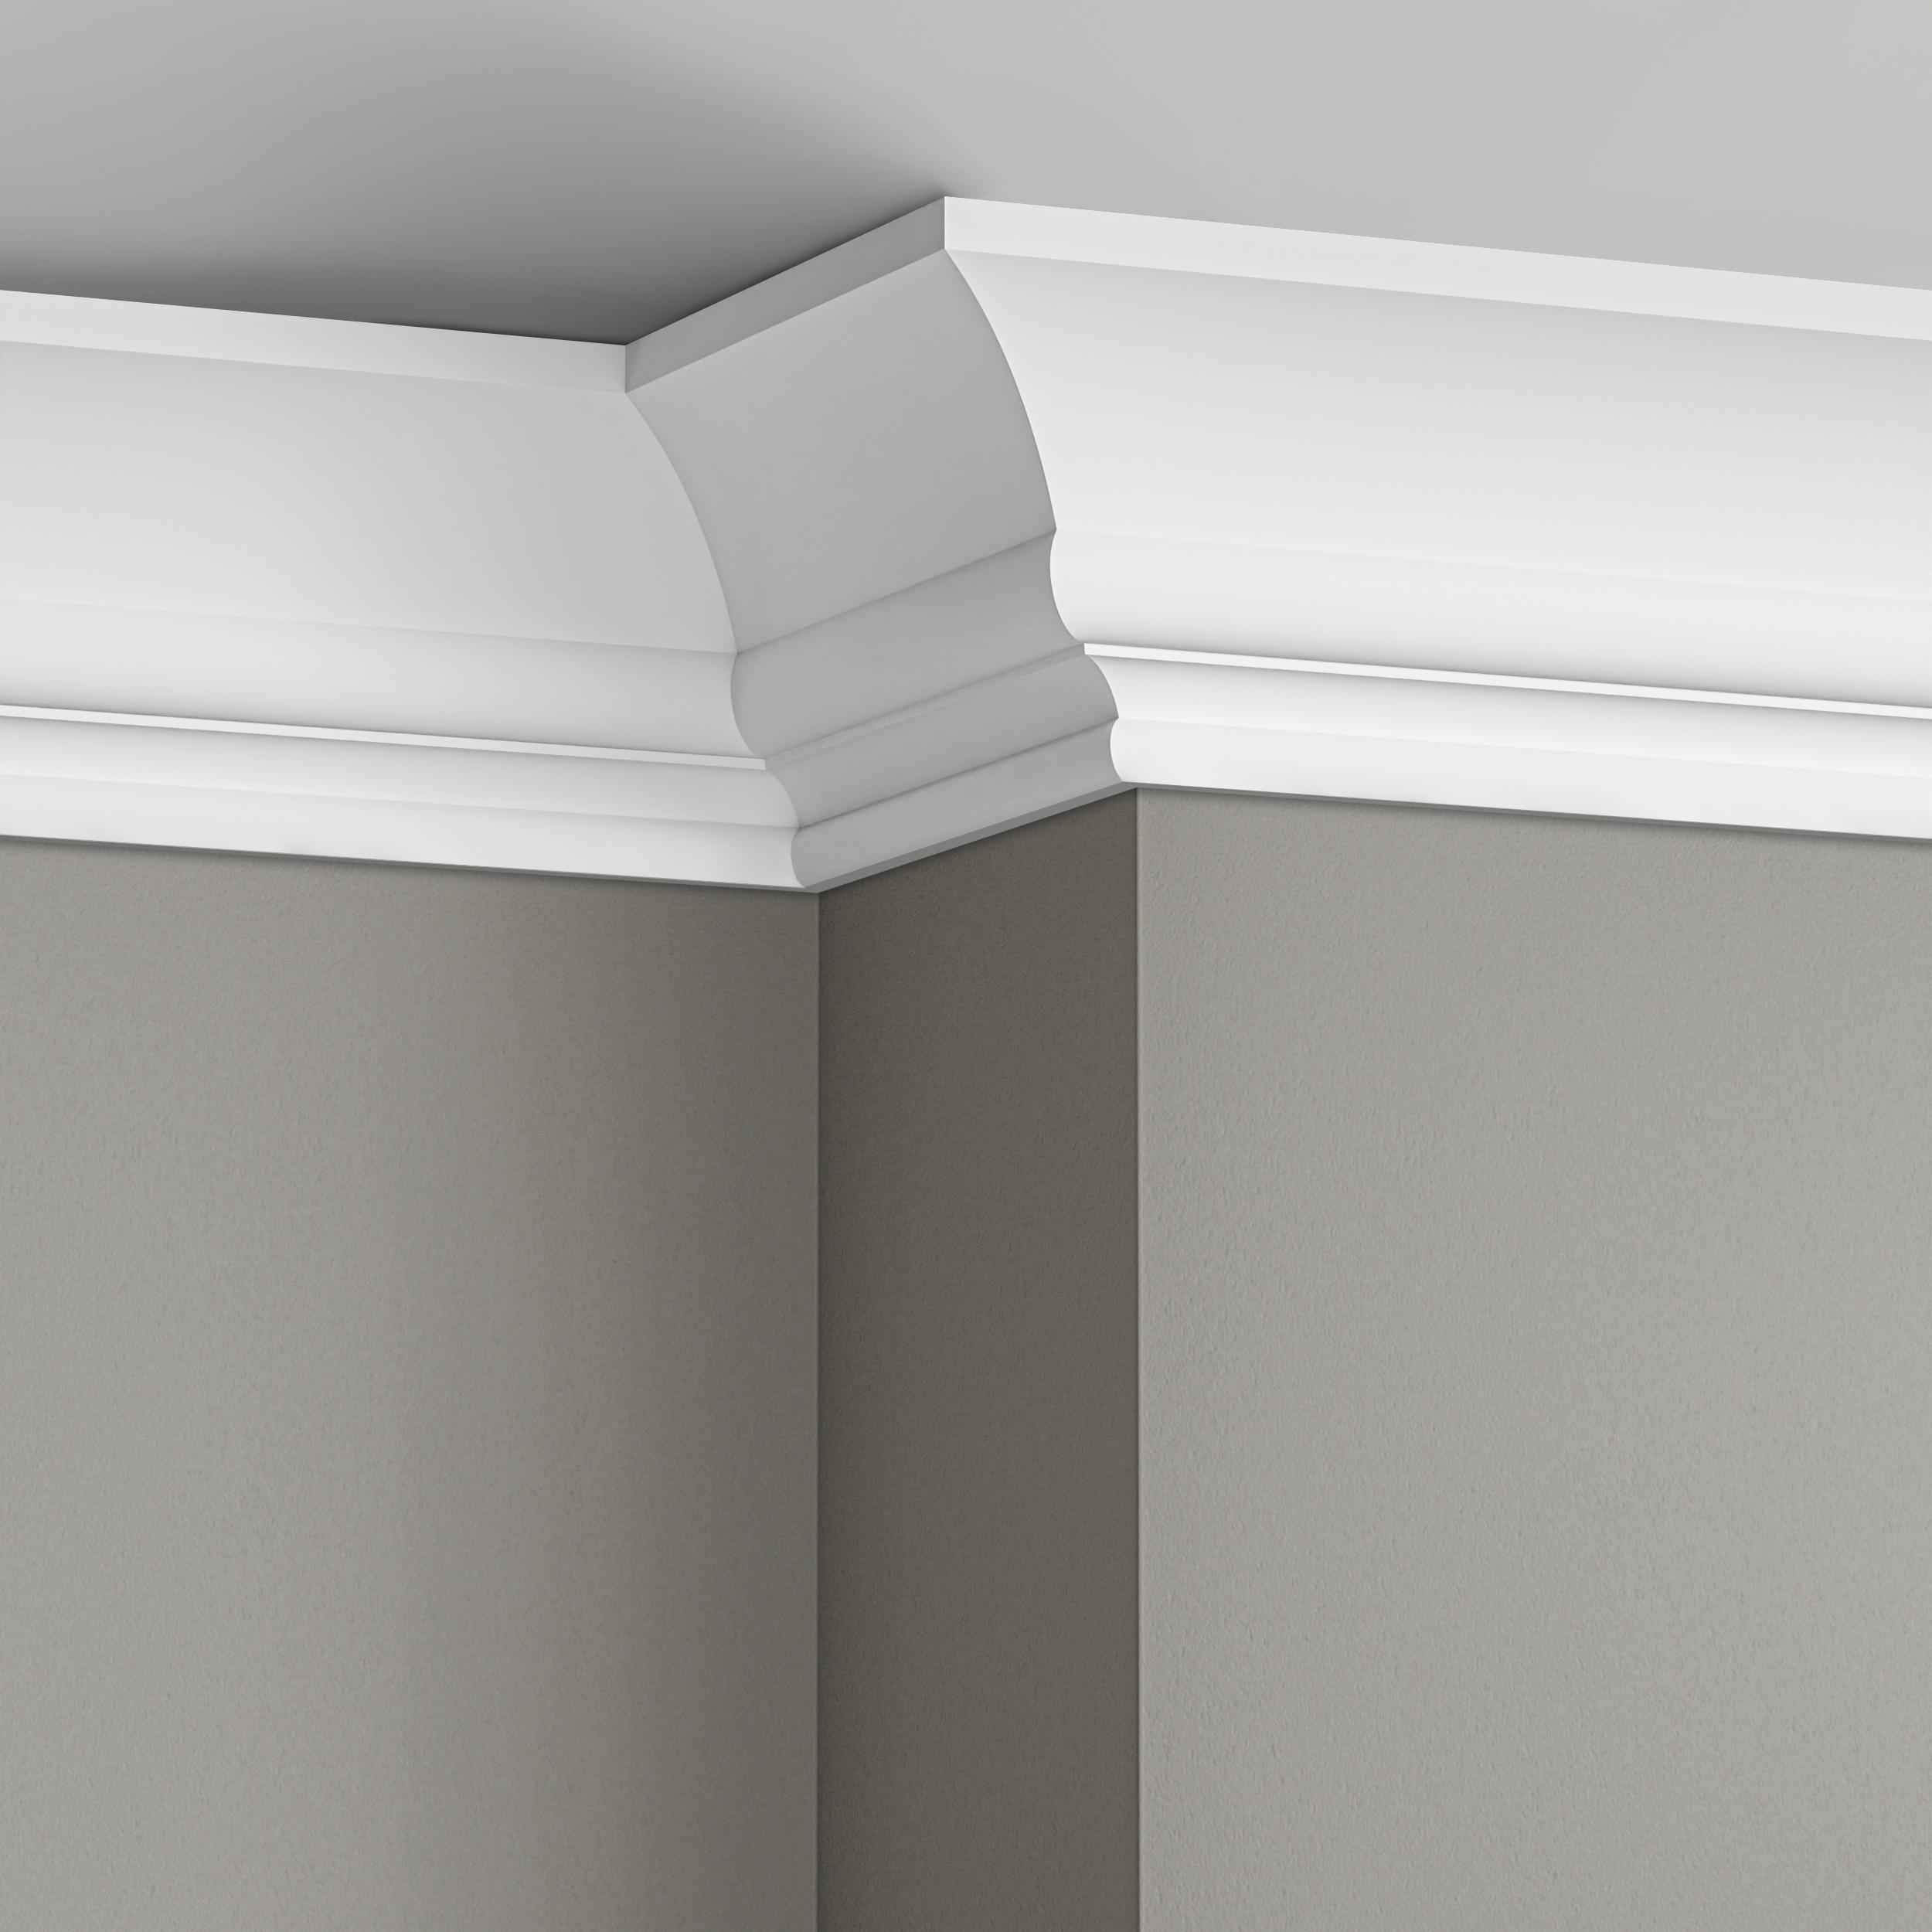
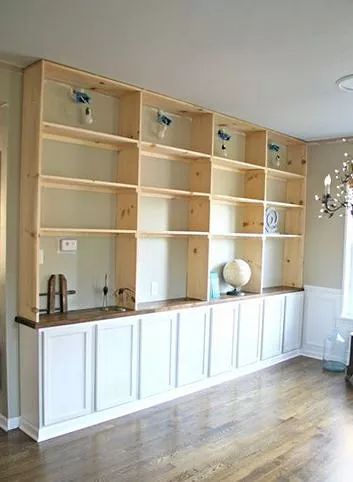
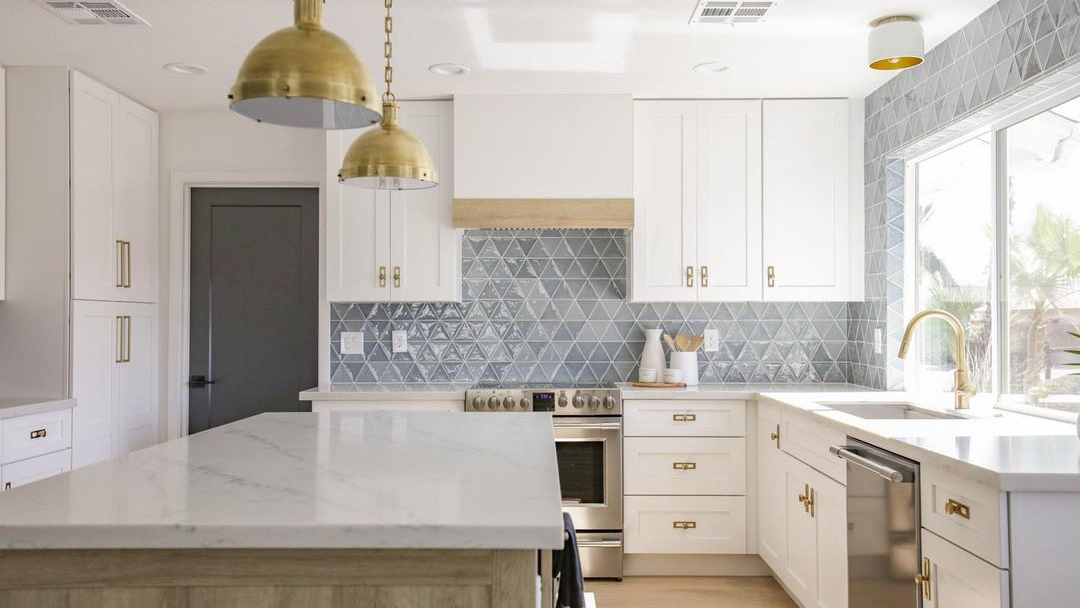
Shelving is a great way to add interest to any space. They can also allow you to display your collection and add storage in any room.
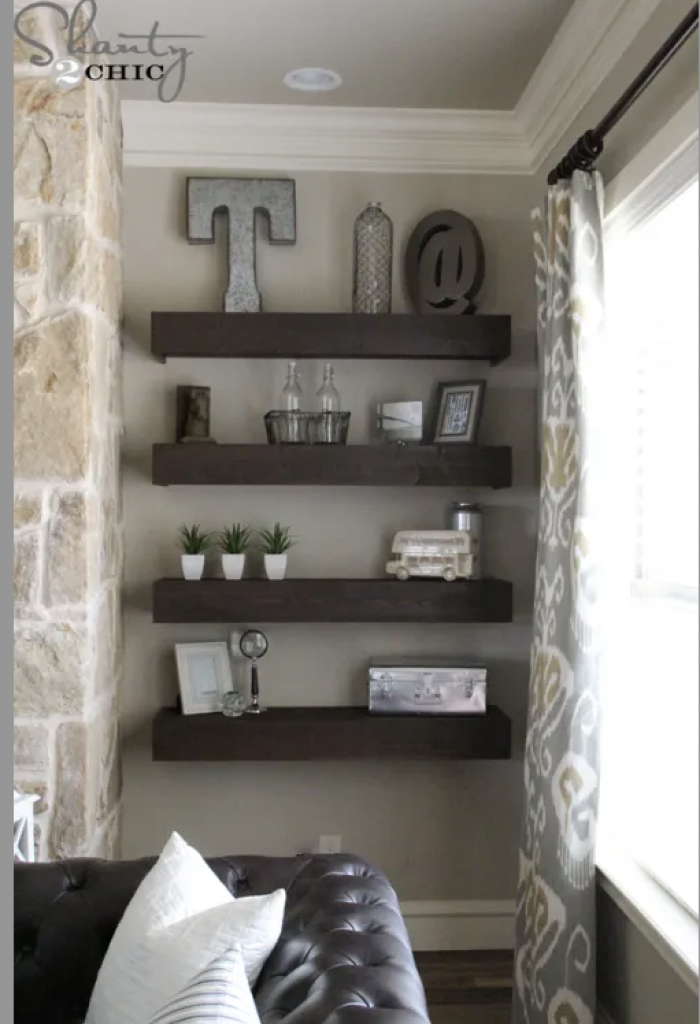
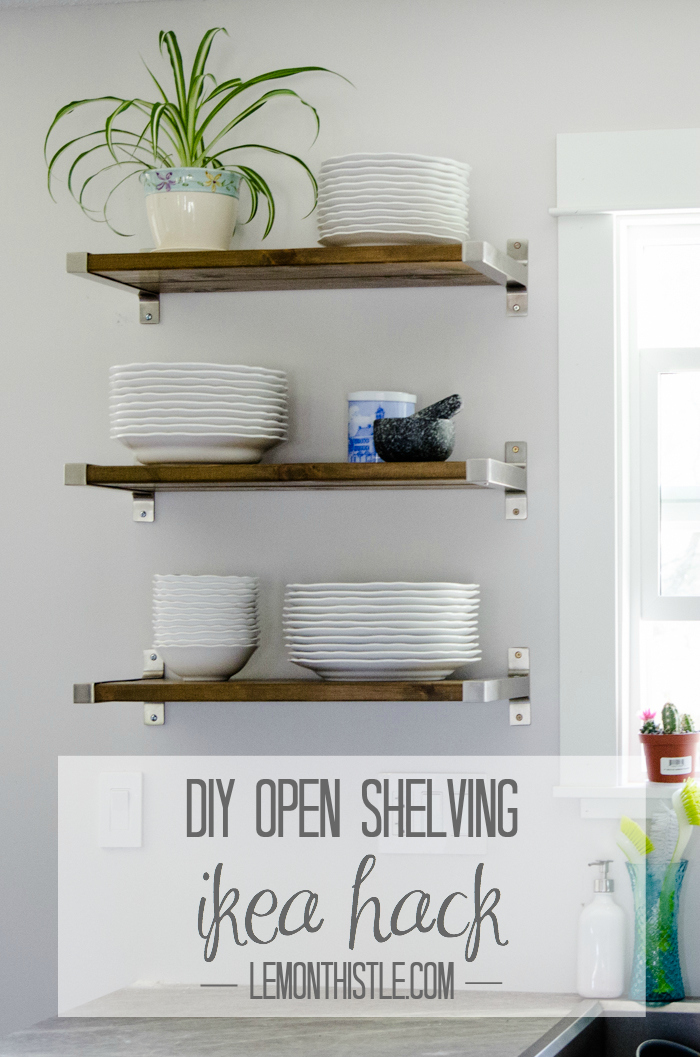
Here are some ideas for shelving. Click on the link, and it will show give you a tutorial.

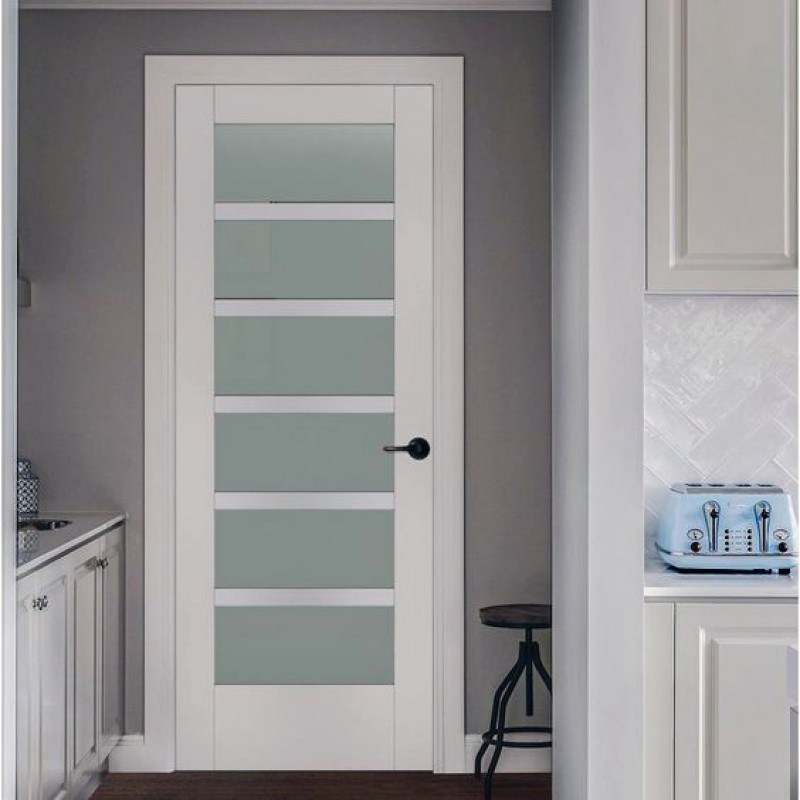


 When you are ready to put the hinge back on the door,


