Adding to my Ikea bookcase

April 2, 2020

Adding to my Ikea bookcase

I’ve wanted to add to my Ikea bookcase in my office. It was nice, but I wanted more storage for my books, and I wanted to make it look a bit more upscale. 

I had some electrical work done, and I was now able to add to the bookcase I had. It’s something that I wanted to do for a while. 
Here is how the project unfolded.

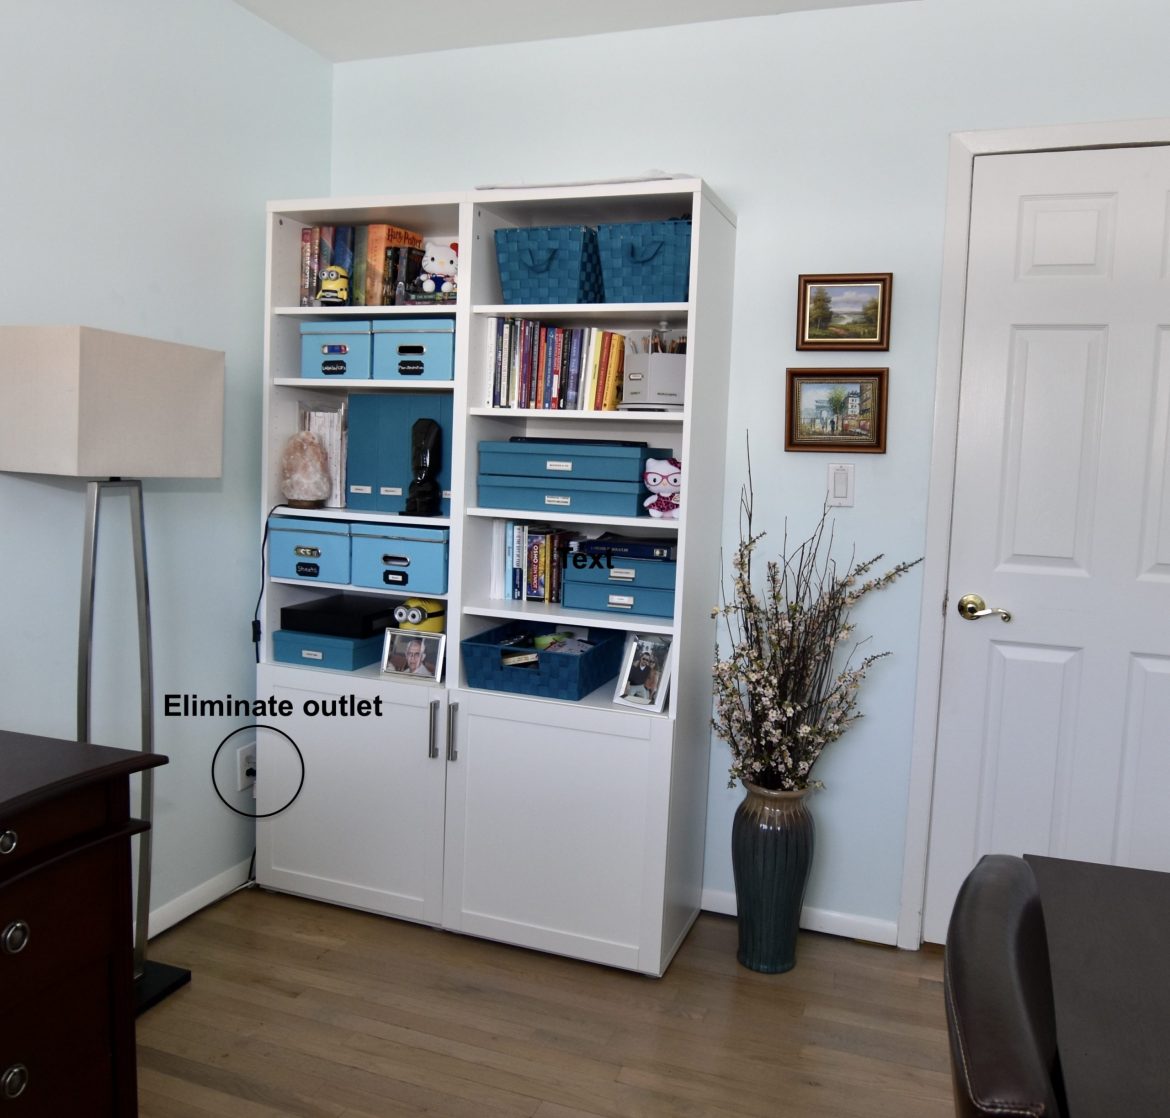
This is how it looked before. Not bad, but I wanted something a little bit more upscale in design. You can see in the photo that the outlet was an issue.


eliminated the outlet, and that allowed me to move the bookcase. Giving me the space I needed to add to it. I used an electrical cover plate.

As you can see here, it didn’t leave me with a huge space (don’t mind that I’m in the picture!!).

I did check Ikea first to see if they had a bookcase that I could use in that space. Unfortunately, they had a 15″ size bookcase I need a 10.5″ size bookcase. It was not going to work. I was going to have to build it.

So off to Home Depot I went to get the materials I needed. Here it is, although it’s not entirely done yet. I need to add the backing to it.

I added a masonite board. That allowed it to have a backing without adding weight since it’s only about 1/8″ thick.

I used finishing nails and made sure I didn’t go through the board!!

There was also an issue of the bookcase not being flushed against the wall. Because walls are rarely straight!! There were some gaps. I used a 2×2 and glued it to the bookcase, but there was a small gap at the bottom, so I had to be creative, and I used shims to fill in the gaps. It worked out beautifully!!

Once I had all the pieces I needed, the last on the agenda was to install crown molding. You can see I used finishing nails again, but some holes needed to be filled. 
First, I use this tool ( I have no idea what’s called). But you use it to pushed the nails in so that it’s easier to fill in the hole. It gives you a nice clean look.

I also filled in all the gaps between the bookcase and the walls. 

I am delighted with the way it turned out, as you can see from the before and after photos. It looks so much better.

#AbellaHomeStaging


Painted fireplace; Good or bad idea?

March 26, 2020

Painted Fireplace; Good or Bad Idea??

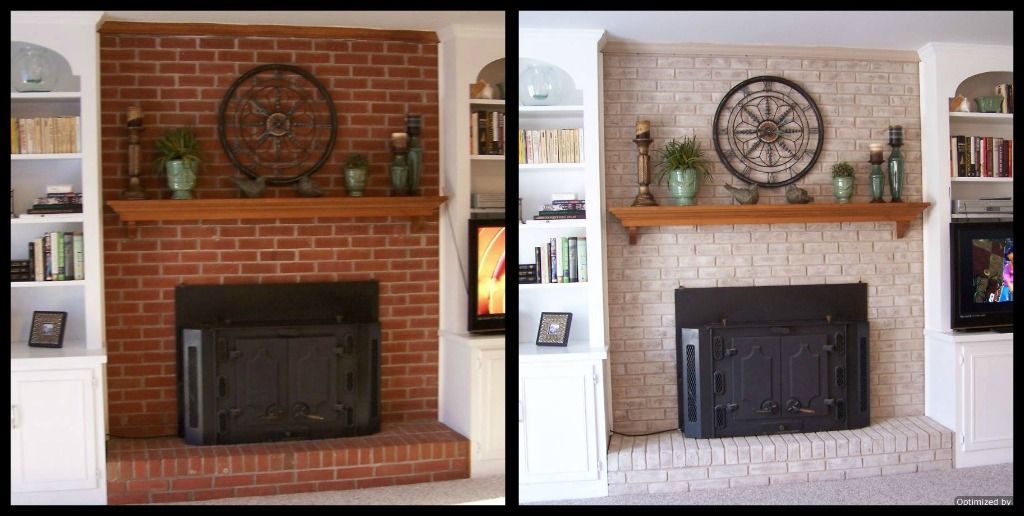
Painted fireplace, is it a good or bad idea?? Tough decision. It all depends on the condition of the fireplace. When I recommend painting the fireplace, I often get a reaction from my clients. “Really? You think I should paint it?” is usually the response I get. But if your fireplace is old and outdated, then yes, by all means, paint it.


As you can see, you can also paint it a different color other than white. Black looks stunning. An ugly fireplace is a potential problem for buyers, so if your fireplace is old and outdated, or it just isn’t appealing, then paint it. This will give it an updated look.


Master bedroom a huge selling point

March 19, 2020

Master Bedroom, A Huge Selling Point

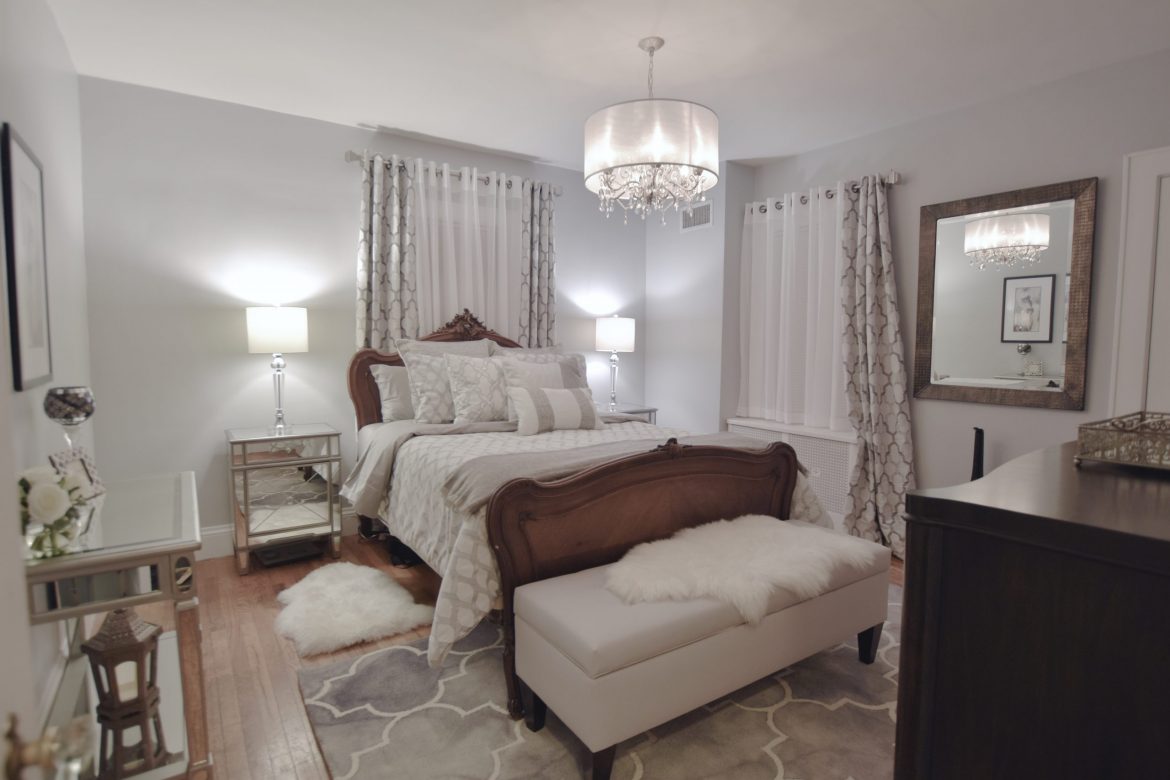
A master bedroom is a huge selling point. Many buyers want a 5-star quality master bedroom when purchasing a home. That is why it’s so important to update your bedroom, along with your kitchen and bathrooms. It isn’t challenging to achieve a high-end look. Sometimes they are a simple solution that has excellent outcomes. Here are some easy steps to making the bedroom of your dreams.
Imperfection – Don’t try to fight it, instead embrace it and work around it. In this bedroom, the window did not allow curtains to be hung on one side. Instead, use a shorter curtain and frame one side of the window. It works well.


Matchy-Matchy – This is one place you can and should match. Matching nightstand and lamps will give the room a symmetrical look. This will enhance that soothing feeling that we all want.

Fabric – Use fabric that can withstand stains. When selling your home, try not to use bold colors, jarring patterns, or lacy fabric. If you’re using a pattern, make sure you repeat it and keep it simple.
Color – When choosing the bed sheets for your comforter, my rule of thumb is to match the comforter. Too many colors are jarring to your senses. Make sure the color of your wall co-ordinates with your bedding. This way, you will have a cohesive look.

Remember this is your bedroom, use items that will appeal to your senses. Limit the amount of furniture, especially if you’re selling your home, and don’t put your office in your bedroom. Too many times, I’ve seen a master bedroom with an identity crisis. They are often used as either an office or storage area. This is a place to retrieve from your hectic life!! Treat it like a sanctuary.
All Images Via Pinterest
#AbellaHomeStaging


Problems with wet basement

March 5, 2020

Problems with a wet basement floor

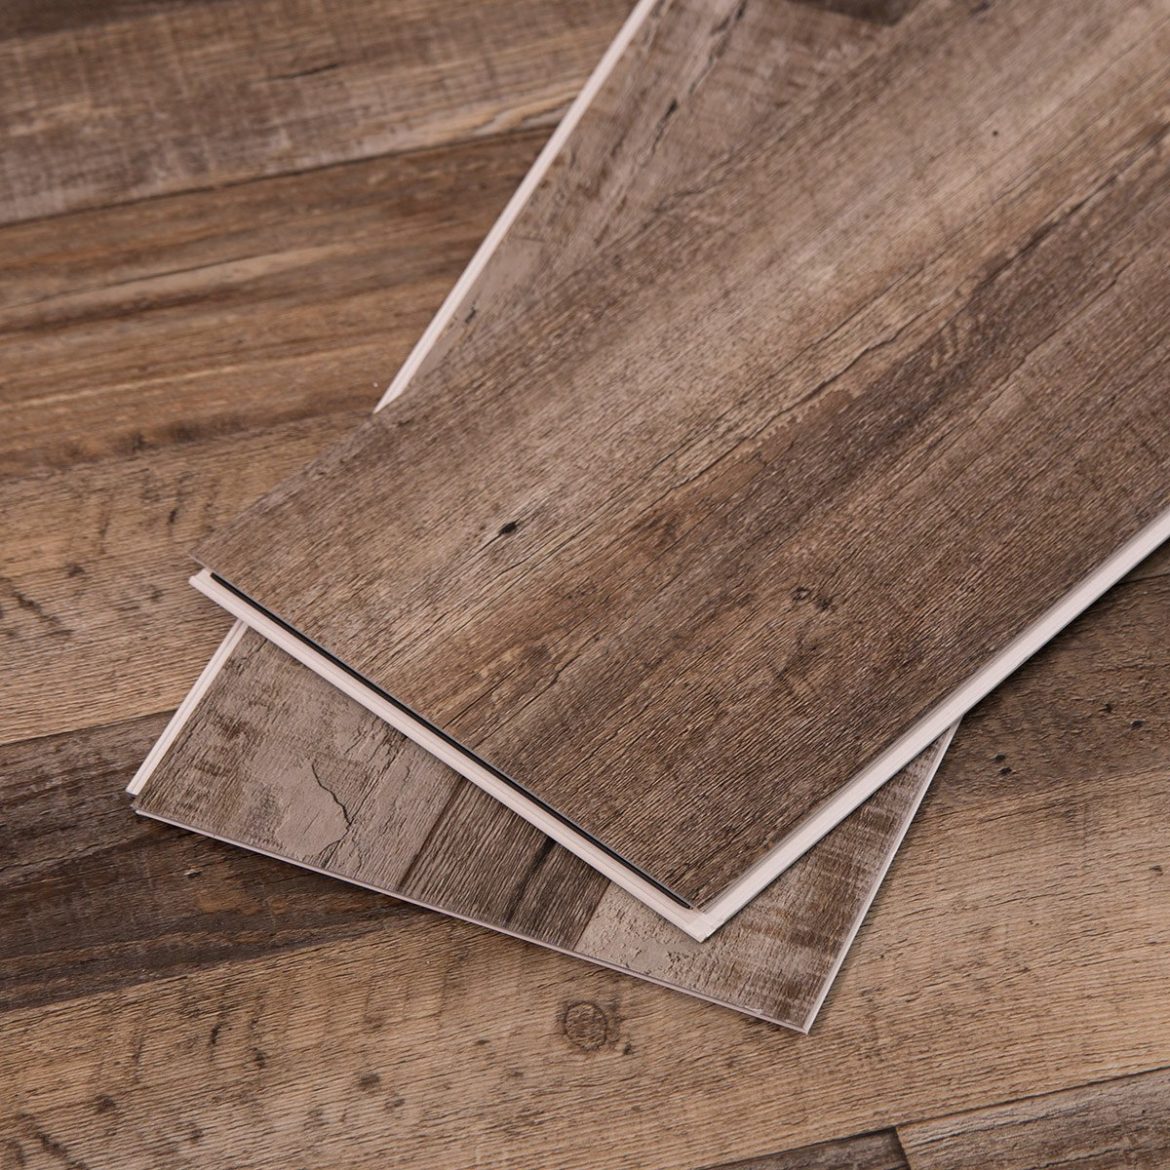
Do you have problems with a wet basement floor? The issue with the basement, it sometimes gets flooded. So what kind of flooring can you put in a cellar that can take water issues? Carpet is no right, mold issues, Wood out of the question, it will warp with time. Laminates floors, adhesive get wet, making the tiles pop up. Floating floors, water will damage the particle boards.

So what can you use? Vinyl flooring is the answer. It can have the beauty and look of wood without the expense. 


It’s durable and completely waterproof. There are many different styles and many different qualities. Some are peel and stick, that won’t work with the water issue. Some you click into place. Do your homework and find out which will work for your space
All Images Via Pinterest
#AbellaHomeStaging


Creating an outdoor deck

February 6, 2020

Creating outdoor decks

Creating outdoor decks can be as simple as introducing furnishing, planting, and different materials. An outdoor deck can be an extension of your living space. Outdoor decks can bring you lots of joy and are great places to entertain.

Besides adding furniture, here are some ways to spruce up your deck.

Create a cozy feeling.

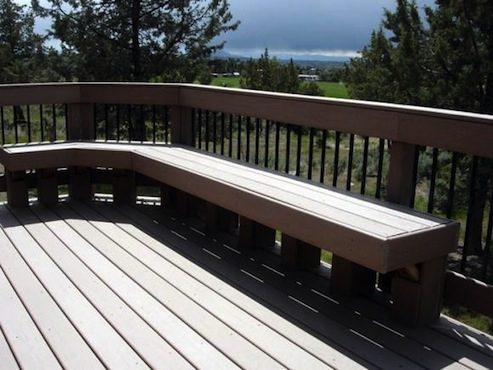
  • Instead of using rails, use bench borders. This will create plenty of seating space.
  • Coordinate your furniture with your house color. This will create harmony.
  • Don’t’ be afraid to use wall art.

Use color and movement.
  • Bright colors can instantly transform a space. Use colorful pillows and accessories.
  • Lots of levels will create interest. You can create this by using different heights of plants.
  • Nature sounds such as water fountains or wind chimes have a very soothing effect.
Create a dining area.
  • Canopy – besides purchasing one, you can create one using canvas. Attach to poles and insert them into large pots filled with flowers.
  • table can be new or repurposed. It doesn’t have to be matchy-matchy.

As you can see, these are some great examples of what can be done to outdoor space. Just creativity and time and who knows what you can design.

All Images Via Pinterest
#AbellaHomeStaging


Reclaim wood anyone?

January 23, 2020

Reclaim wood anyone??

Reclaimed wood anyone?? Have you noticed just how popular reclaimed wood has become, or that matter of fact, anything recycled? Nowadays, it’s all about being “Green.” I love the look brings an organic feel to any space.

There are more and more places they are selling their version of reclaimed wood. So finding it has become much easier.

There are many ways to incorporate reclaimed wood into any design. Here are some examples.

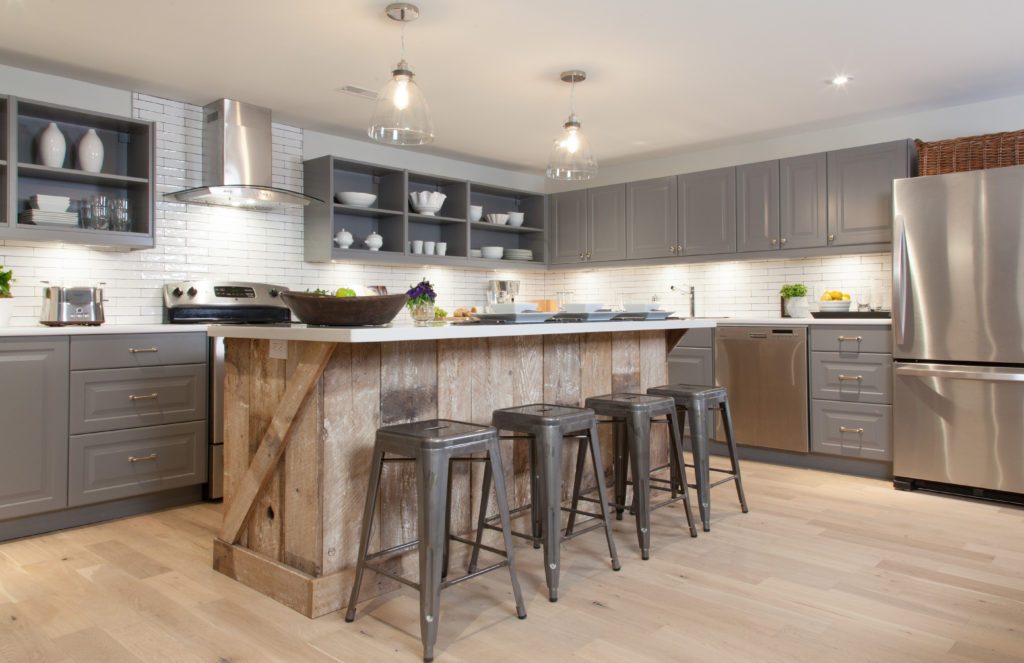
Use it on a kitchen island.

As an accent wall
On a barn door.
Or as a false beam.
As you can see, there are many uses for reclaimed wood. All you need to do is decide where you want to use it. Less is more when it comes to reclaimed wood, as it may make the room appear dark or “heavy.”

All Images Via Pinterest
#AbellaHomeStaging


What’s old is new again

January 22, 2020

What’s old is new again.

What’s old is new again. As I mentioned in my last posting, “Green” has become very popular. Going green not only saves the planet, but it also eliminates a lot of waste in the landfill. Bedside, they don’t make furniture like they use to, and let’s face it the old “stuff” is so much better.

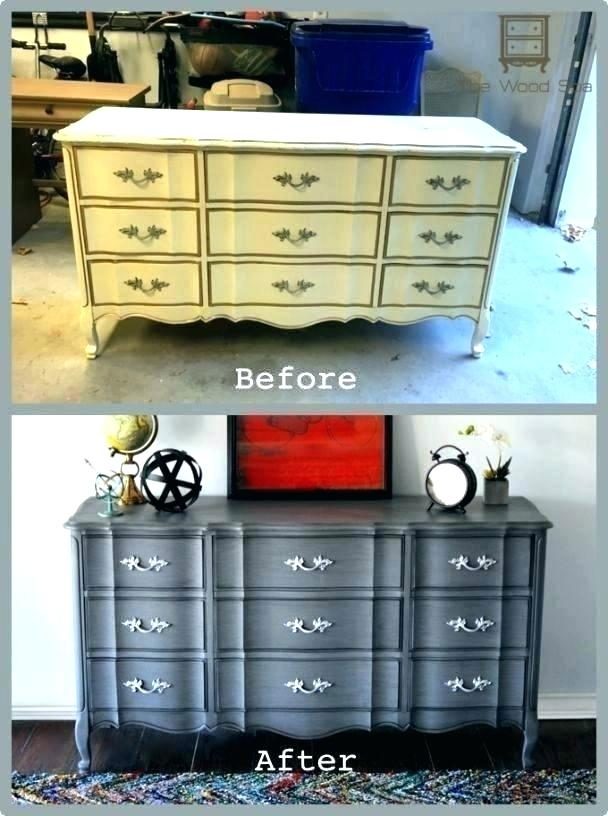
When I meet with my clients, there have been many times when they are consider getting rid of old furniture. But if I feel the furniture has potential, I enough recommend they reuse or repurpose it and give it a new life. They are often surprised by my recommendation. I explain to them that adding unique and antique pieces adds so much character to any space.

I love some of these examples of how furniture has been refinished. Some have been completely changed!!

What better way than to reuse what you already have? But if you need to buy items, check out antique stores or salvage yards. They have great finds.

So the next time you think about throwing away an old piece of furniture, take a moment and think. Can this be saved? Not only will it save you money and be “Green” but it will give you bragging rights, which is always nice.

All Images Via Pinterest
#AbellaHomeStaging


The many uses of wallpaper!

October 31, 2019

The many uses of wallpaper!!

There are many uses for wallpaper besides putting it on the walls. Lets’ expand our design palette to find other purposes for wallpaper. What do you do with leftover wallpaper? I’m always on the lookout for ideas. This one is a great and inexpensive idea. Keep in mind you can buy discounted wallpaper from any big box retailer as well.

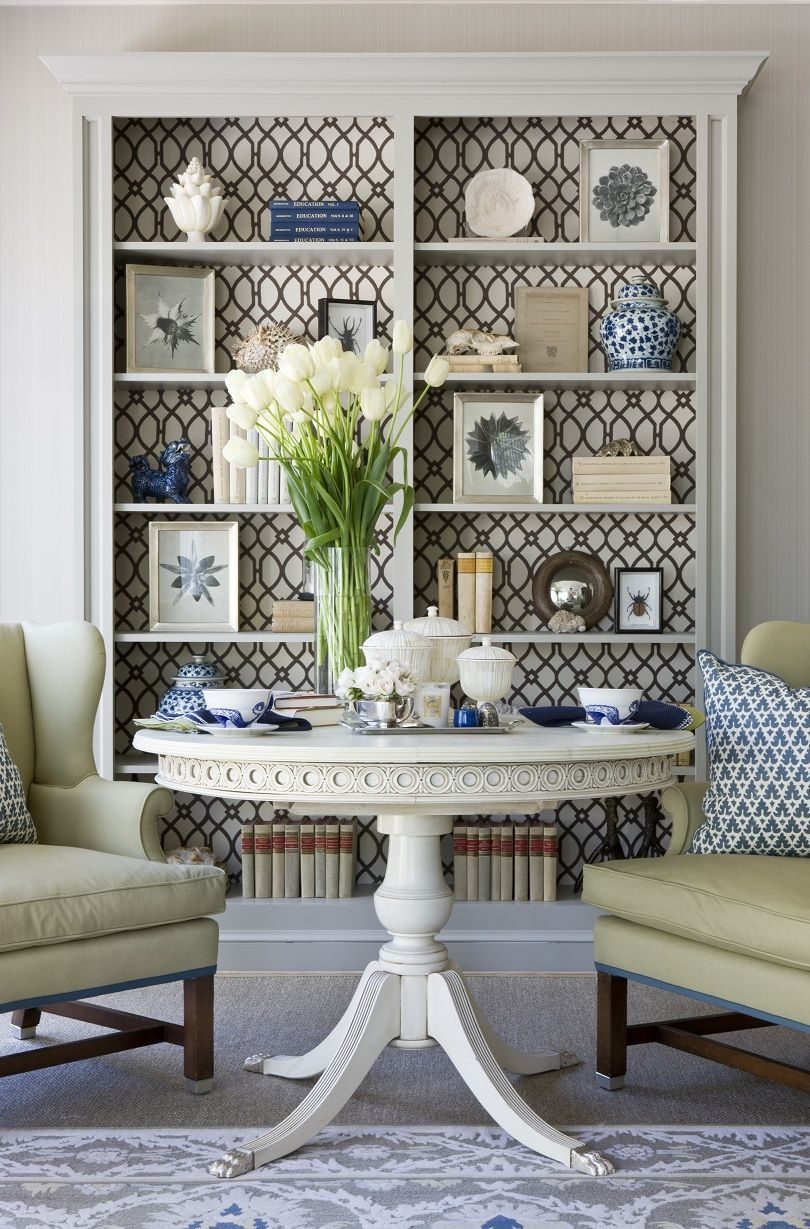
1. Creative bookcase. Use it for lining a cabinet or hutch. It gives it a unique look and piazza without spending a lot.


2. Frame it. Love the wallpaper so much? Then frame it. You can create your art using wallpaper. Super easy to do.

3. Transform furniture. You can easily use it as a table topper.


4. Create a custom wainscot. Find a wallpaper you like, then coordinate the paint color. This will give you a very high-end look.

How about lining drawers? Wallpapering your cardboard boxes? Dressing up your clothes closet? The possibilities are endless. Just a little imagination, and who knows how far you can use wallpaper!!

All Images Via Pinterest
#AbellaHomeStaging


Rules of Placement

October 17, 2019

Rules of Placements

Have you ever wanted to know the designers’ secrets rules of placements? Ever wonder, “What is the correct placement of this______?” You can fill in the blanks with any scenario. It helps to know the guidelines. As a designer, there have been many times I have walked in a homeowner’s home and notice the placement is wrong. Here are some guidelines to help you figure out the arrangements,

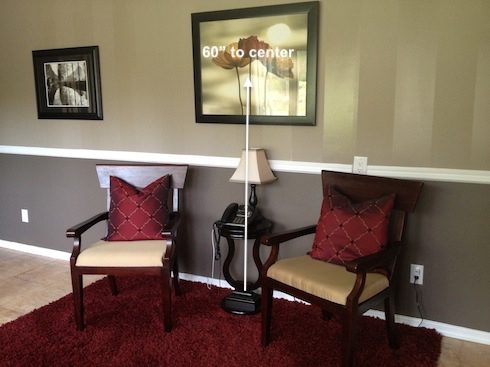
1. The perfect viewing height for art placements is 60″ above the floor to the center of the art.

2. The perfect amount of space between wall art/mirror and top of the mantle is 7 inches.

3. The ideal height to hang your flat-screen TV is eye level when you’re in viewing position. The perfect viewing position distance is 1 1/2 times the size of your flat-screen TV.

4. A bed should be 23″ off the floor no higher.

5. A bench at the foot of the bed should be no less than 2″ shorter than the mattress width.

6. Keep a minimum of 15″ between the coffee table and sofa.
7. Don’t use end tables lower than 30″. The lamps will be positioned much better, and the proportion is better.

8. There should be a minimum of 36″ of space around your dining table to allow better flow and use.

9. Light switches should be 36″ above the floor and 1 1/2 to 2 ” off the side. This way, they are out of the way of your door casing.
10. The optimal height for your coffee table is 18″ to 20.”
These are just guidelines. As you may know, many of them have been broken like the art over the mantle. Now they lean the artwork right on the mantle. And the bench at the foot of the bed, I have seen two ottomans that work nicely.

The rules are there to guide you. Some may be broken, others like the light switch placement, and dining room table placement is good to know. Use your eyes as your best source of judgment. 

All Images Via Pinterest
#AbellaHomeStaging

N-Hance, Revolutionary wood renewal. You Decide!

October 3, 2019

N-Hance, Revolutionary Wood Renewal. You Decide!!

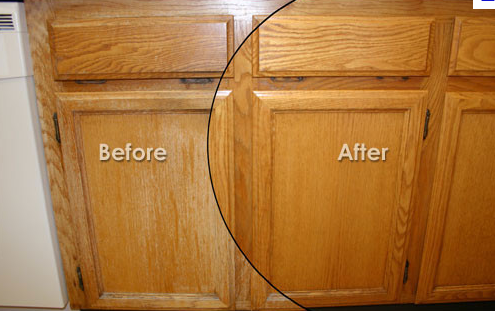
N-Hance is a revolutionary wood renewal product that is relatively new to the industry. What is it exactly? According to their advertising, “It renews your wood cabinets and floors without the dust, inconvenience and noxious fumes associated with traditional refinishing methods. In many cases, the process can be completed in just one day!”

As a Home Stager and Designer, I am always looking for options to pass along my clients that are cost-effective and not time-consuming. This could very well be it. Although I have not personally seen it, one of my current clients is in the process of getting it down. I have a strong feeling this will appeal to the general public.

It gives you the options of three solutions:

1. Basic renewal. No change of color. Has minimal wear on wood. Your old, cabinets will look new again.

2. Color Shift. It will slightly warm the tone of the wood., leaving the beauty of the wood grain intact. Great for sun-faded areas. This will take 2-3 days to complete.

3. Color change. This is a more dramatic effect. Usually will go from light to dark, such as oak to cherry. Or change the color completely!!
As you can see from these photos, very impressive. It’s an option you can choose, especially if you are selling your home and don’t want to invest too much getting it ready!!
All Images Via Pinterest
#AbellaHomeStaging